June 1, 2026
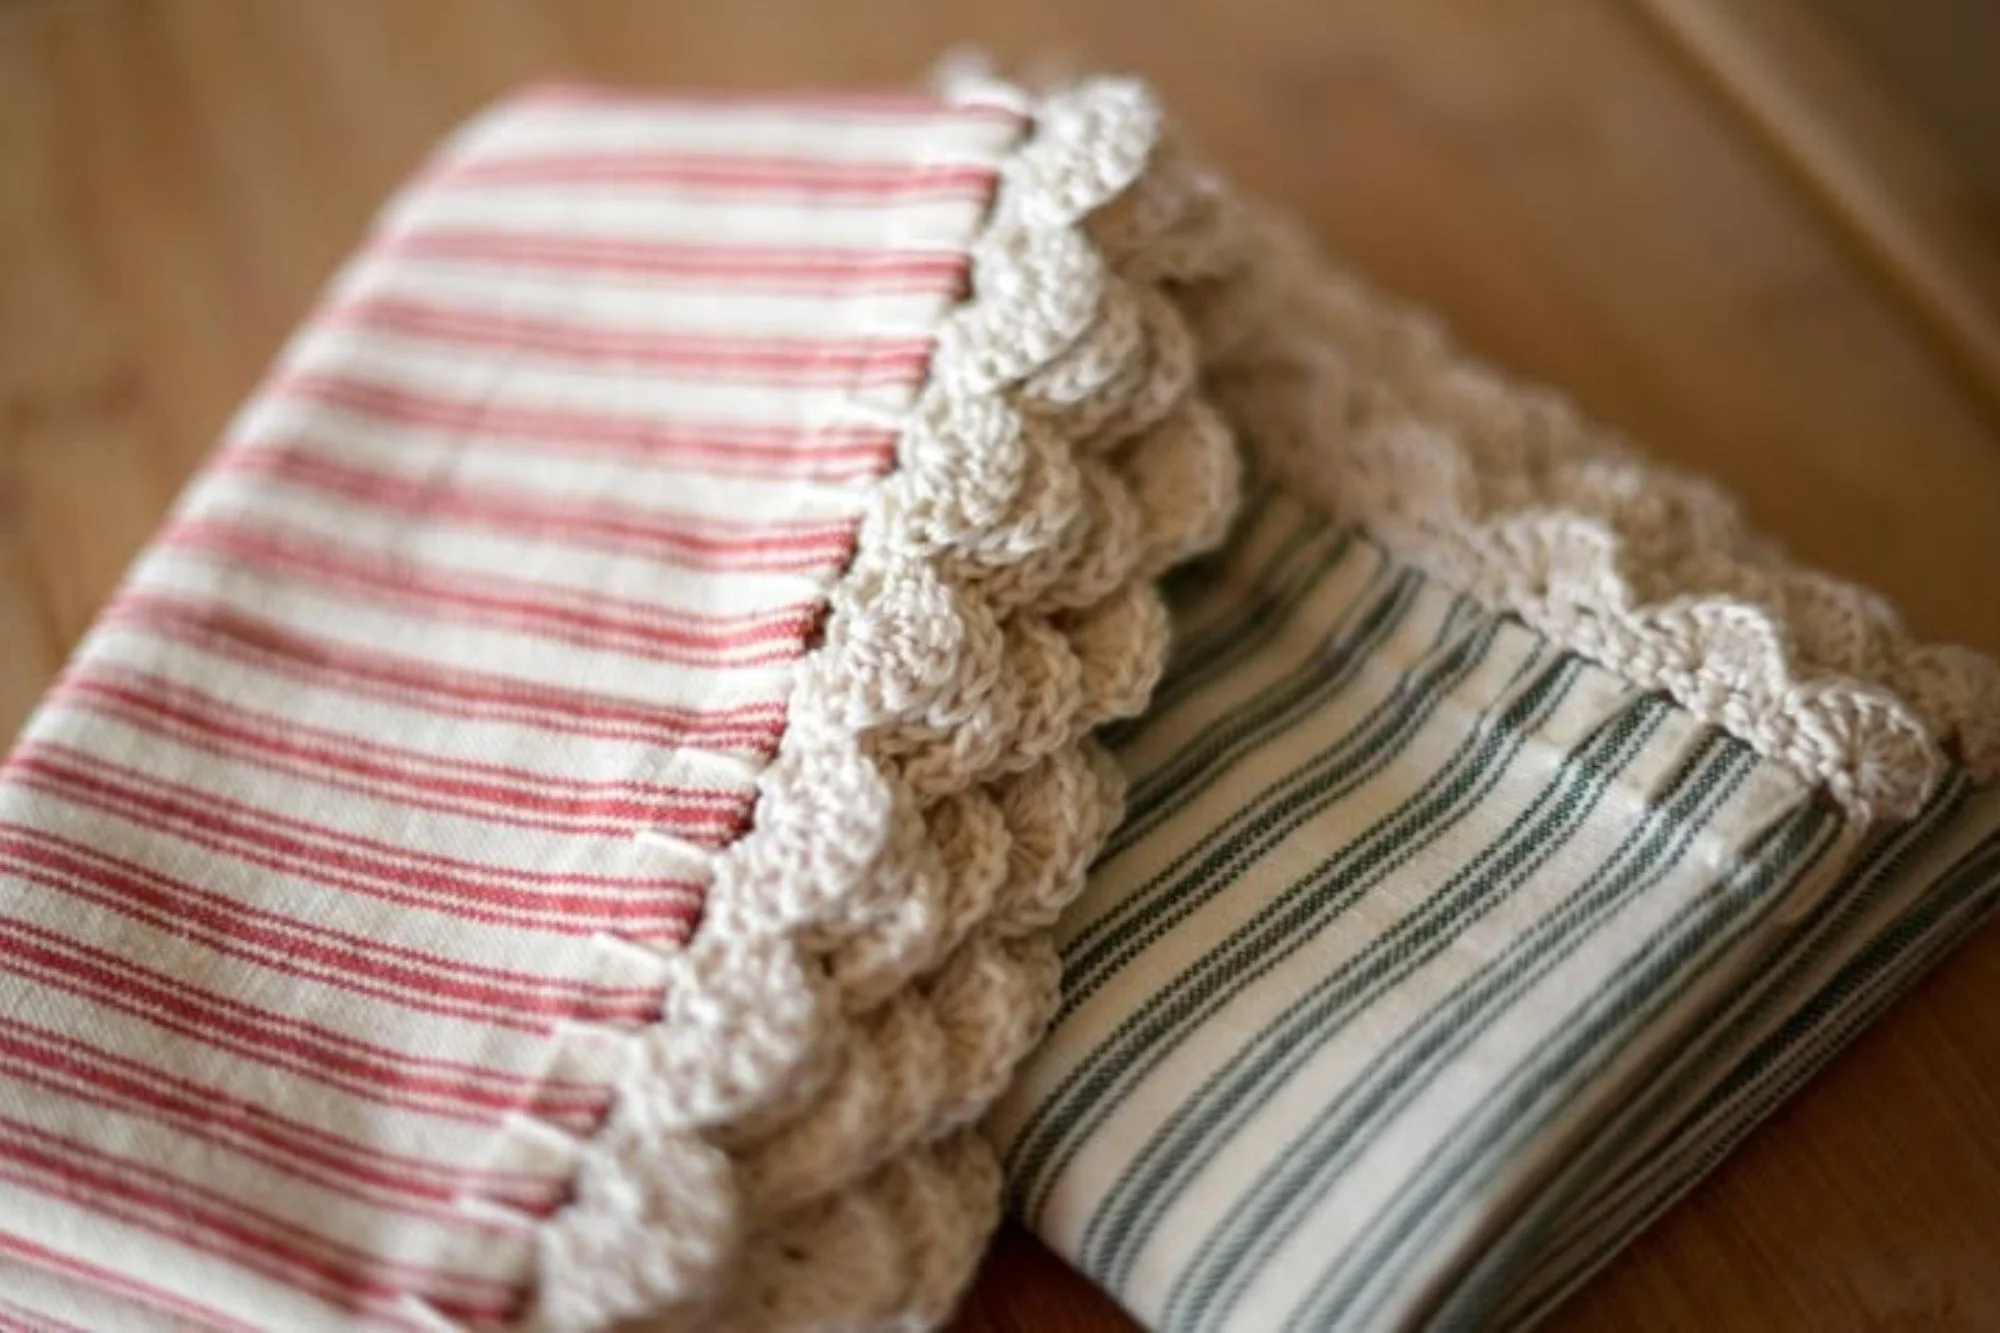
Adding the finishing touches to a project – such as a blanket, dishcloth, or neckline – often involves adding a border around the edge. Your item generally looks unfinished without them. While many projects often have the border in the pattern, there are some that do not, or the instructions are not entirely clear as to where to go to create the border.
I suggest always start with a row of double crochet all the way around, regardless of what the border pattern actually is. The double crochet is the smallest stitch and can therefore be ‘inconspicuous’ (if done in the right colour). This stitch helps to clean up the edges and helps hide ‘minor’ imperfections at the end of rows, before adding the decorative pattern.
Begin your border pattern somewhere along the bottom – not in the corner. I usually start mine approx. 10 stitches away from the corner. If the join is in the corner that corner can become more pointed then the others. By having the join along a straight side it can be blended in more – particularly if you use the seamless join.
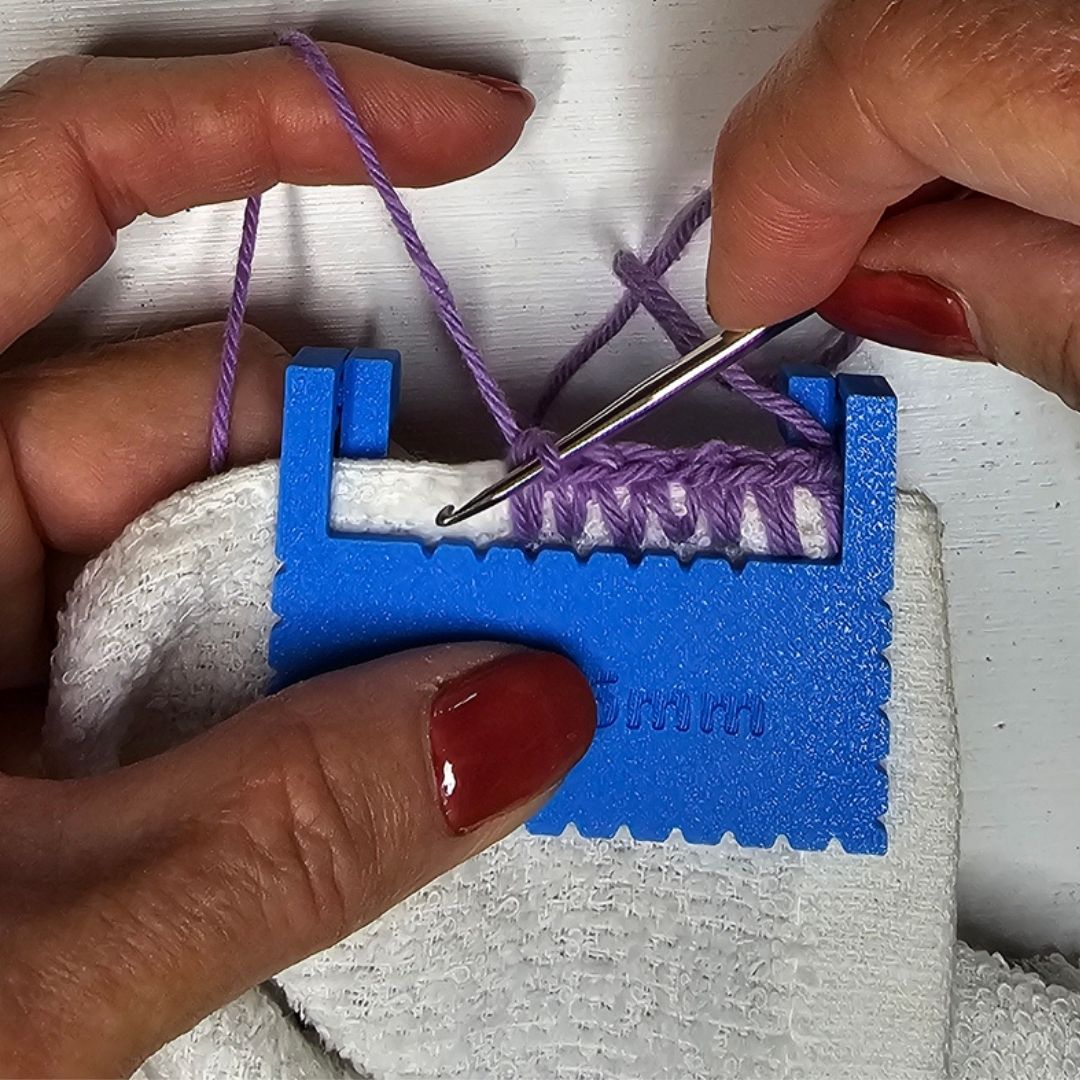
Working along the top and bottom of your project is easy, in that you work in the top (or bottom) of each stitch. Working in the ‘bottom’ means working through the bottom loop of the beginning chain. This can be tight, so you will likely need to take it slow.
When you work down the sides, however, or around necklines – being the ends of the rows – there are no stitches to work into. Many patterns will say ‘ …work xx stitches evenly across’. This doesn’t mean a stitch for every row, as the width of most stitches differs to their length.
For example, 1 stitch per row if going around a pattern using double crochet can result in a ruffled edge, while 1 stitch per row if going around a pattern using treble crochet can result in pulling your project too tight.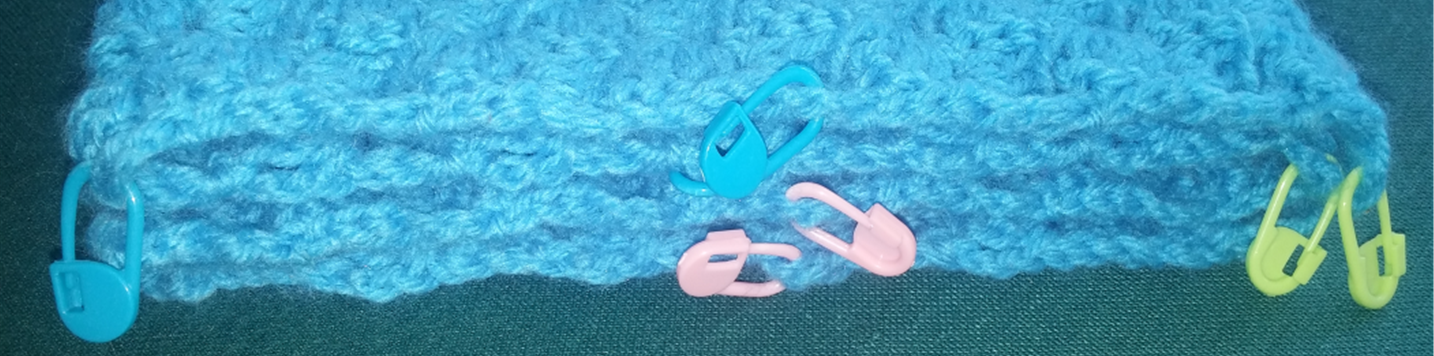
When a pattern asks for this even distribution of stitches, I find it easier to divide that edge into smaller sections using stitch markers – this makes it easier to get an even distribution. I generally try to get it so I am needing to do no more than 15 stitches between two points.For example – if I have a project where I need to make 80 stitches evenly between the corners, I will fold my project in half and use a stitch marker to mark halfway. I then fold each half in half again to mark the quarters, and then the quarters in half again to mark further sections. The smallest section then will need to have (80/8) 10 stitches.
What if the pattern just says to make a border and doesn’t give a stitch count? A little more work is required first to work out how many stitches you need. This is achieved by making a gauge swatch and working out how many stitches per inch/5 cm you have then calculate how many stitches you need for the length you have. After a while your experience will convert to number of stitches per row. For example, I know from my past work that for a pattern using trebles, I get six double crochets across four rows. Once you’ve done one side and you are happy it is not pulling too tight nor too loose and frilly ensure you count the number of stitches you have so you can make the other side match.
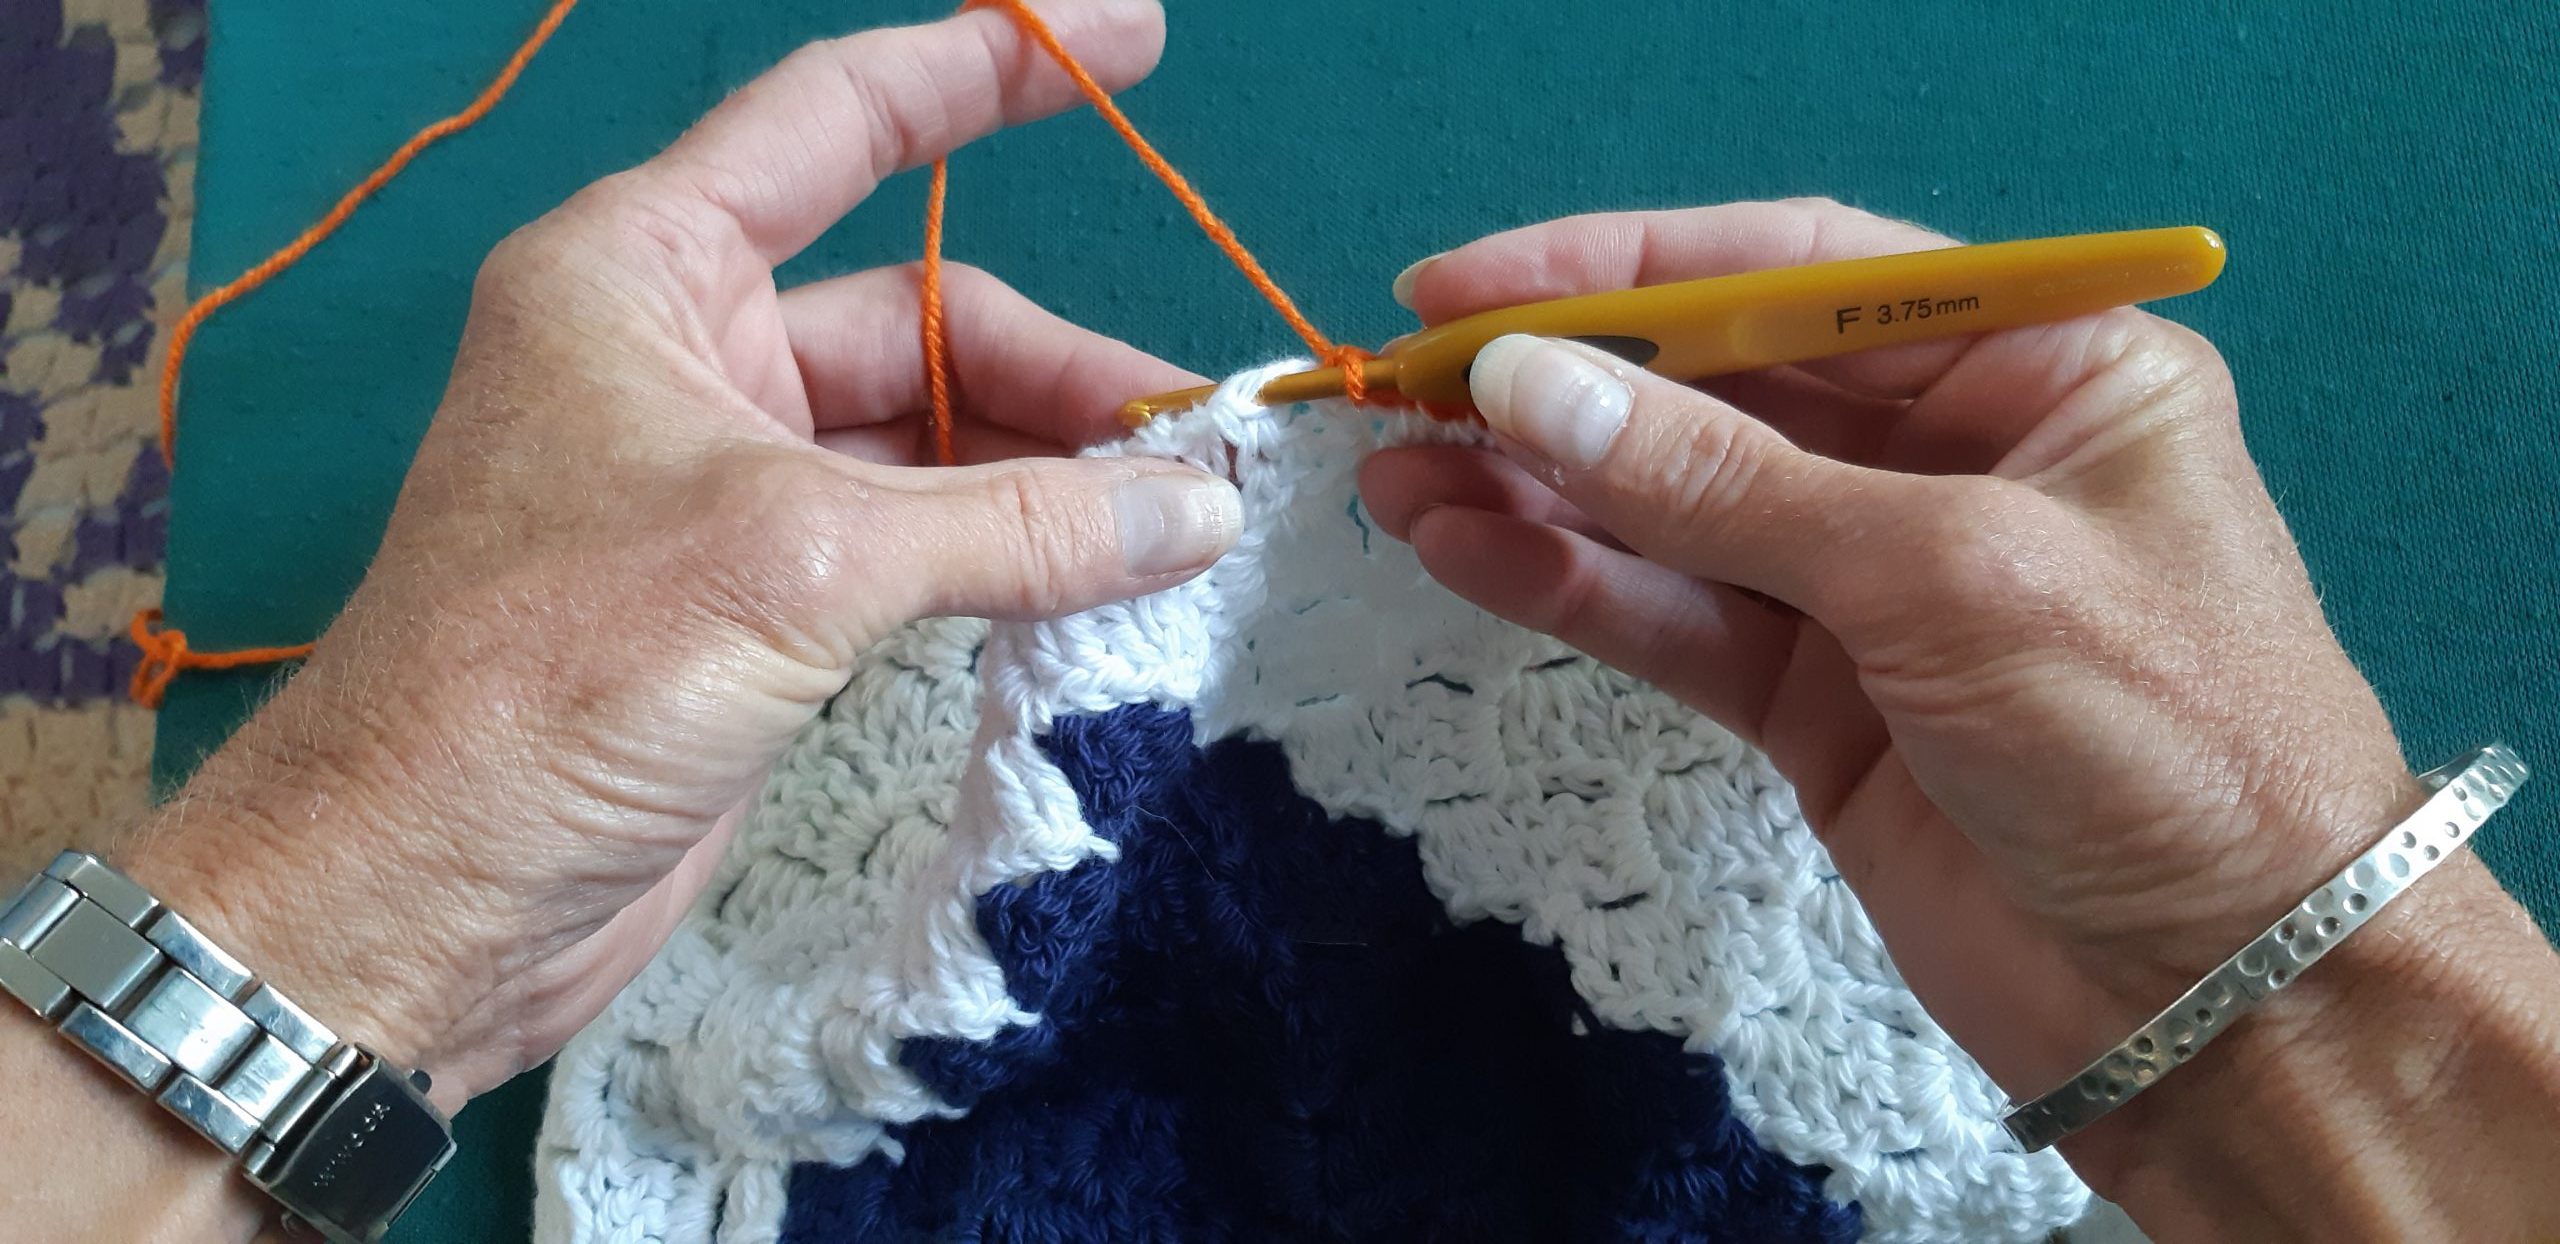 When making your first row of double crochets try to go through two strands of yarn forming the stitch you are working into rather than one. This will ensure it doesn’t get too loose and pull away from the main work.