June 1, 2026
Knitters and crocheters often have strong opinions on the subject. But what is it and why do some swear by it? I myself had never blocked any of my work until a few years ago and now I block most of what I do, particularly when crocheting lace or motifs. If I’m going to put all that effort into making something, I want to make the finished item really stand out. Blocking can do that by making the stitches sit properly. Many people I speak to are afraid that blocking will ‘ruin’ the project. It is not as scary as you think, and for most fibres you can’t ruin your project. Following the guidelines below will help you achieve a beautiful finished project.
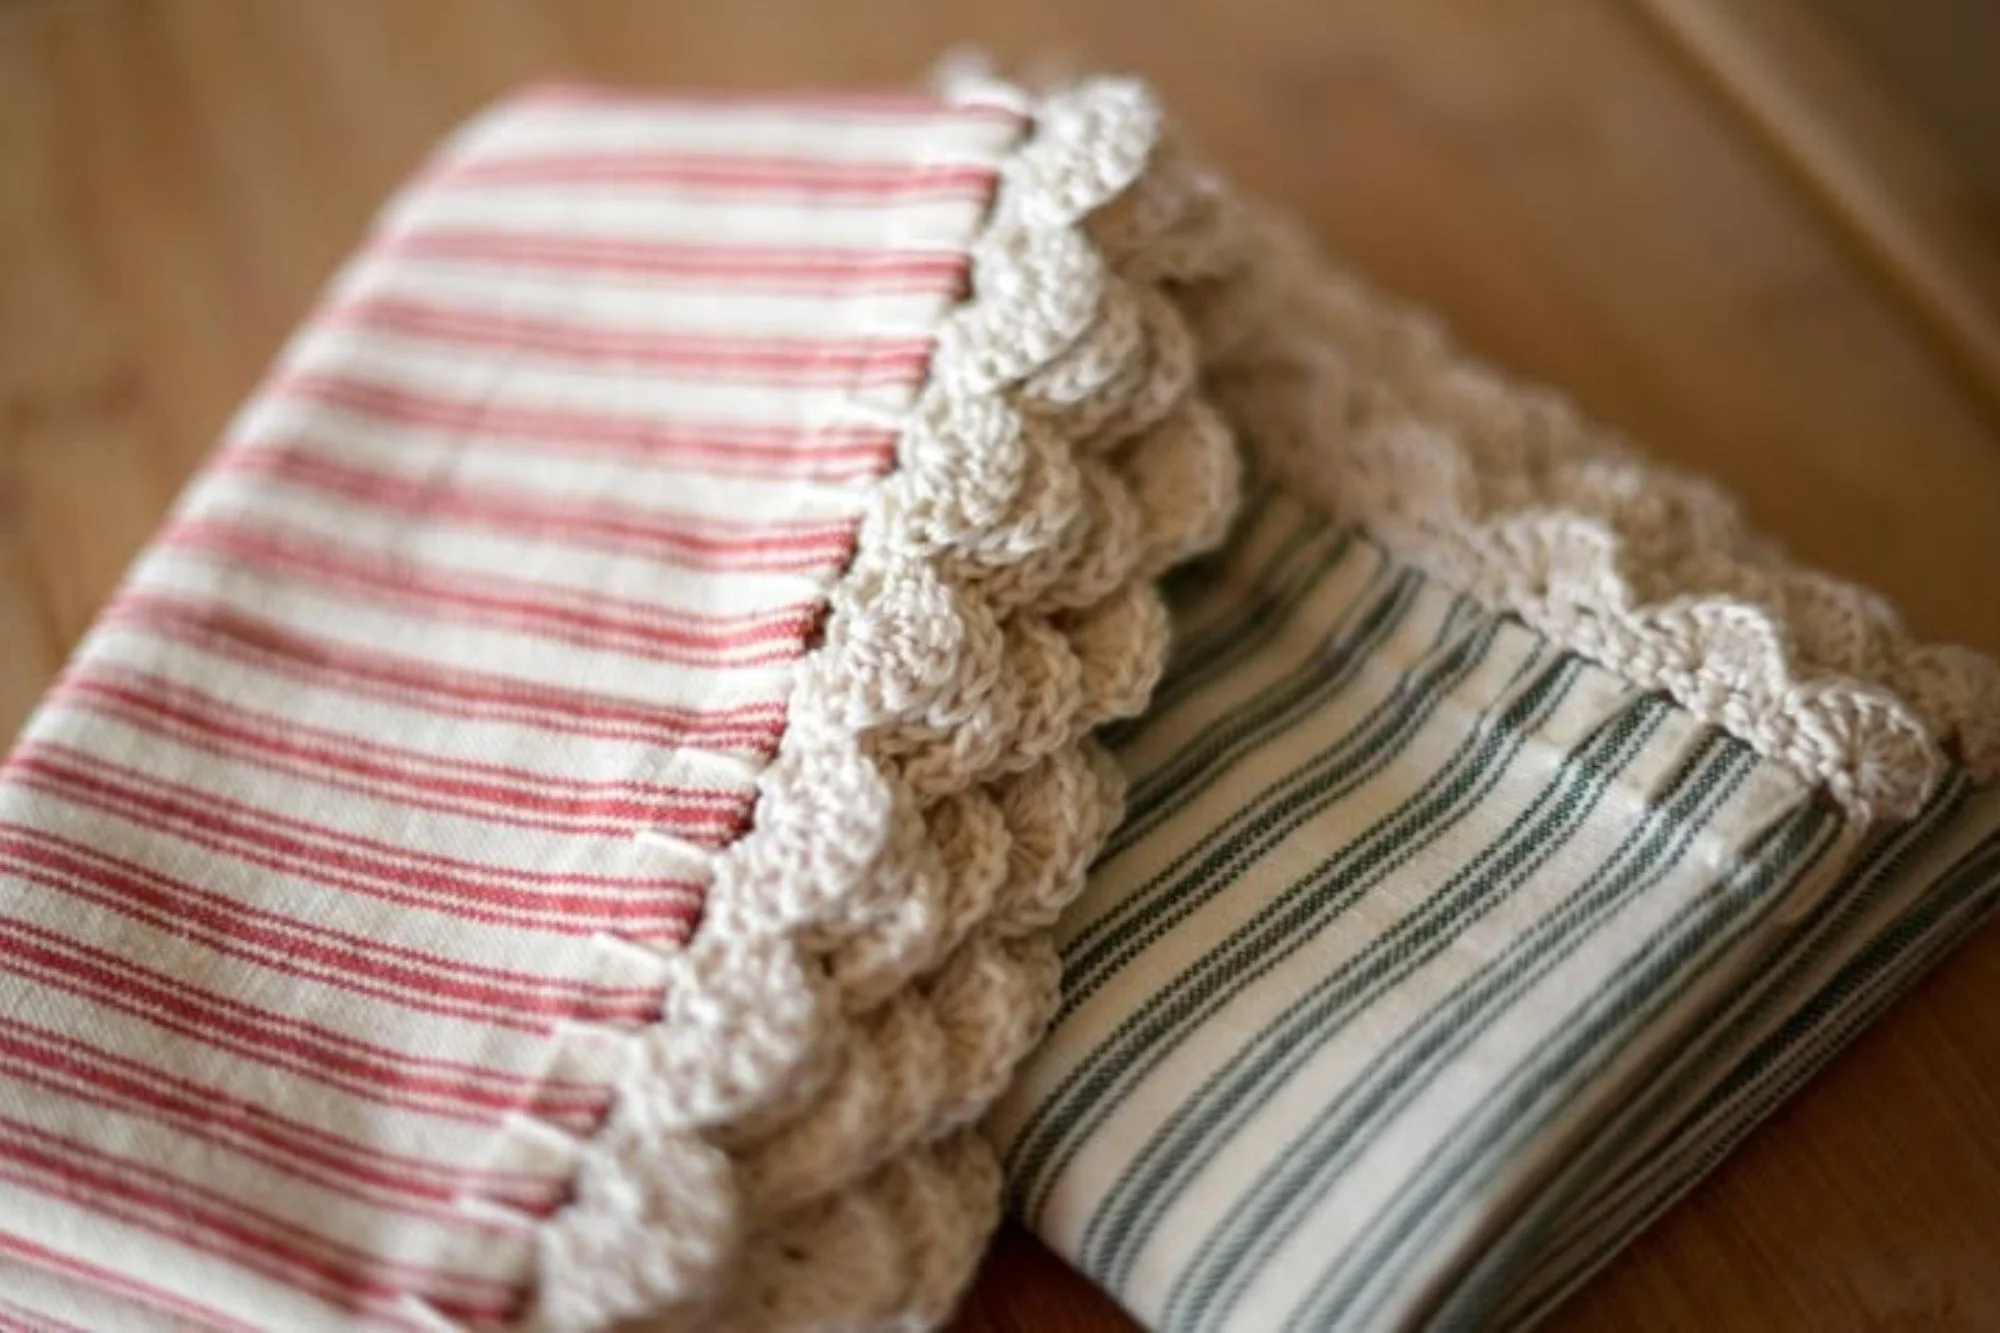
In essence, blocking is a method of shaping and molding your finished pieces to match the measurements and shapes on the schematics (or pattern). When making lace, blocking is essential to settle the yarn so that the lace pattern shows through. When you are making a garment, it’s best to block the individual pieces to get them to the 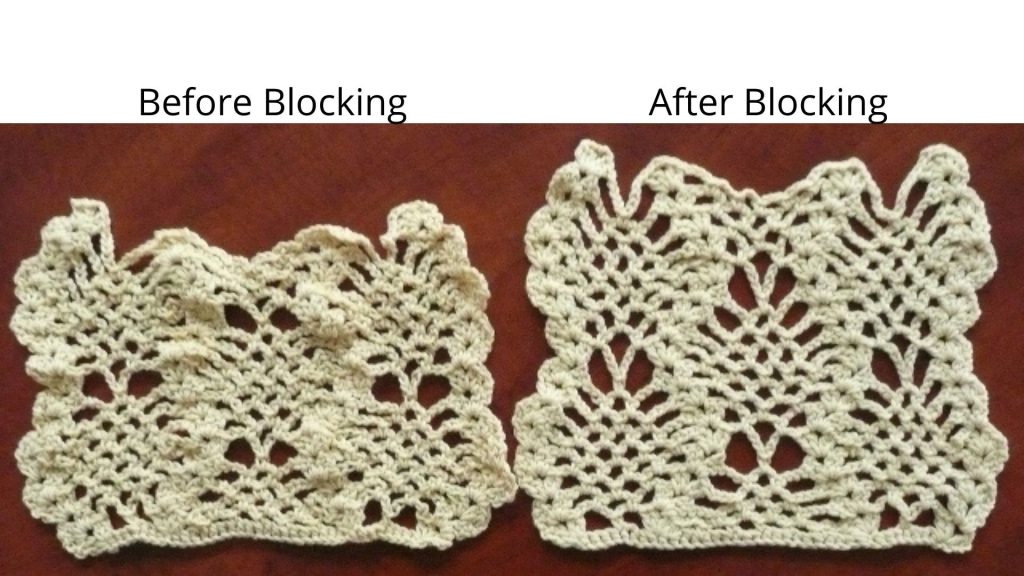 right size and shape before sewing them together. Similarly when you are joining motifs together it is best to block each individual motif so they are all the same size.
There are two main categories of blocking: wet and steam. The use of each being dependent on the fibre content and the type of project. Whilst most fibres can be wet blocked, caution is needed before steam blocking as heat can affect fibres differently. This is where the care instructions on the yarn labels come in handy. The following is a general guide to the type of blocking with common fibres;
| Angora | Wet block by spraying |
| Cotton | Wet block or warm/hot steam press |
| Linen | Wet block or warm/hot steam press |
| Lurex | Do not block |
| Wool blends | Wet block by spraying; do not press unless pretested first |
| Mohair | Wet block by spraying |
| Novelties | Do not block, unless there are specific blocking directions |
| Synthetics | Carefully follow instructions on ball band—usually wet block by spraying, do not press |
| Wool and all wool-like fibers – (alpaca, camel hair, cashmere) | Wet block by spraying or warm steam press |
| Wool blends | Wet block by spraying; do not press unless pretested first |
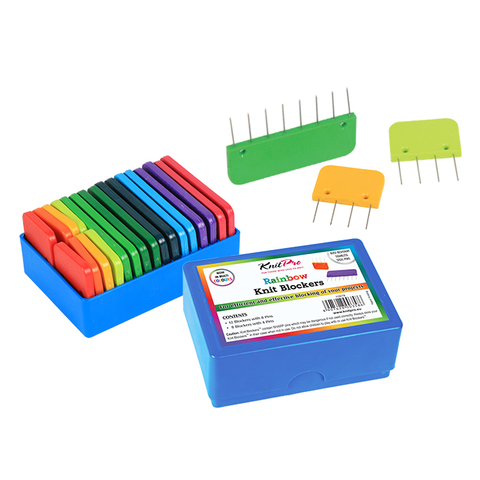
Essential tools for blocking: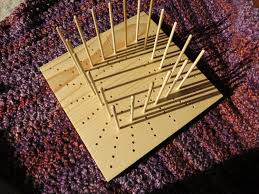
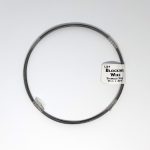 s and even large triangular and rectangular shawls blocking wire can be used.
There are two ways to wetblock your crocheted pieces. Both techniques work equally well, so choose the one that appeals to you most. The first is to immerse the pieces in cool water, then squeeze out the water, taking care not to wring or twist your items. Working one at a time, place the pieces on your prepared surface (or a blocking board), then stretch and mold the pieces into the same or desired size and shape shown on the schematic and pin. Leave to dry.
The second method is to place the pieces on your prepared surface (or a blocking board), then stretch and mold the pieces into the same or desired size and shape shown on the schematic and pin, then wet them down using a spray bottle filled with cool water. Sometimes I also use a towel and press them to soak up the excess water. Then leave to dry.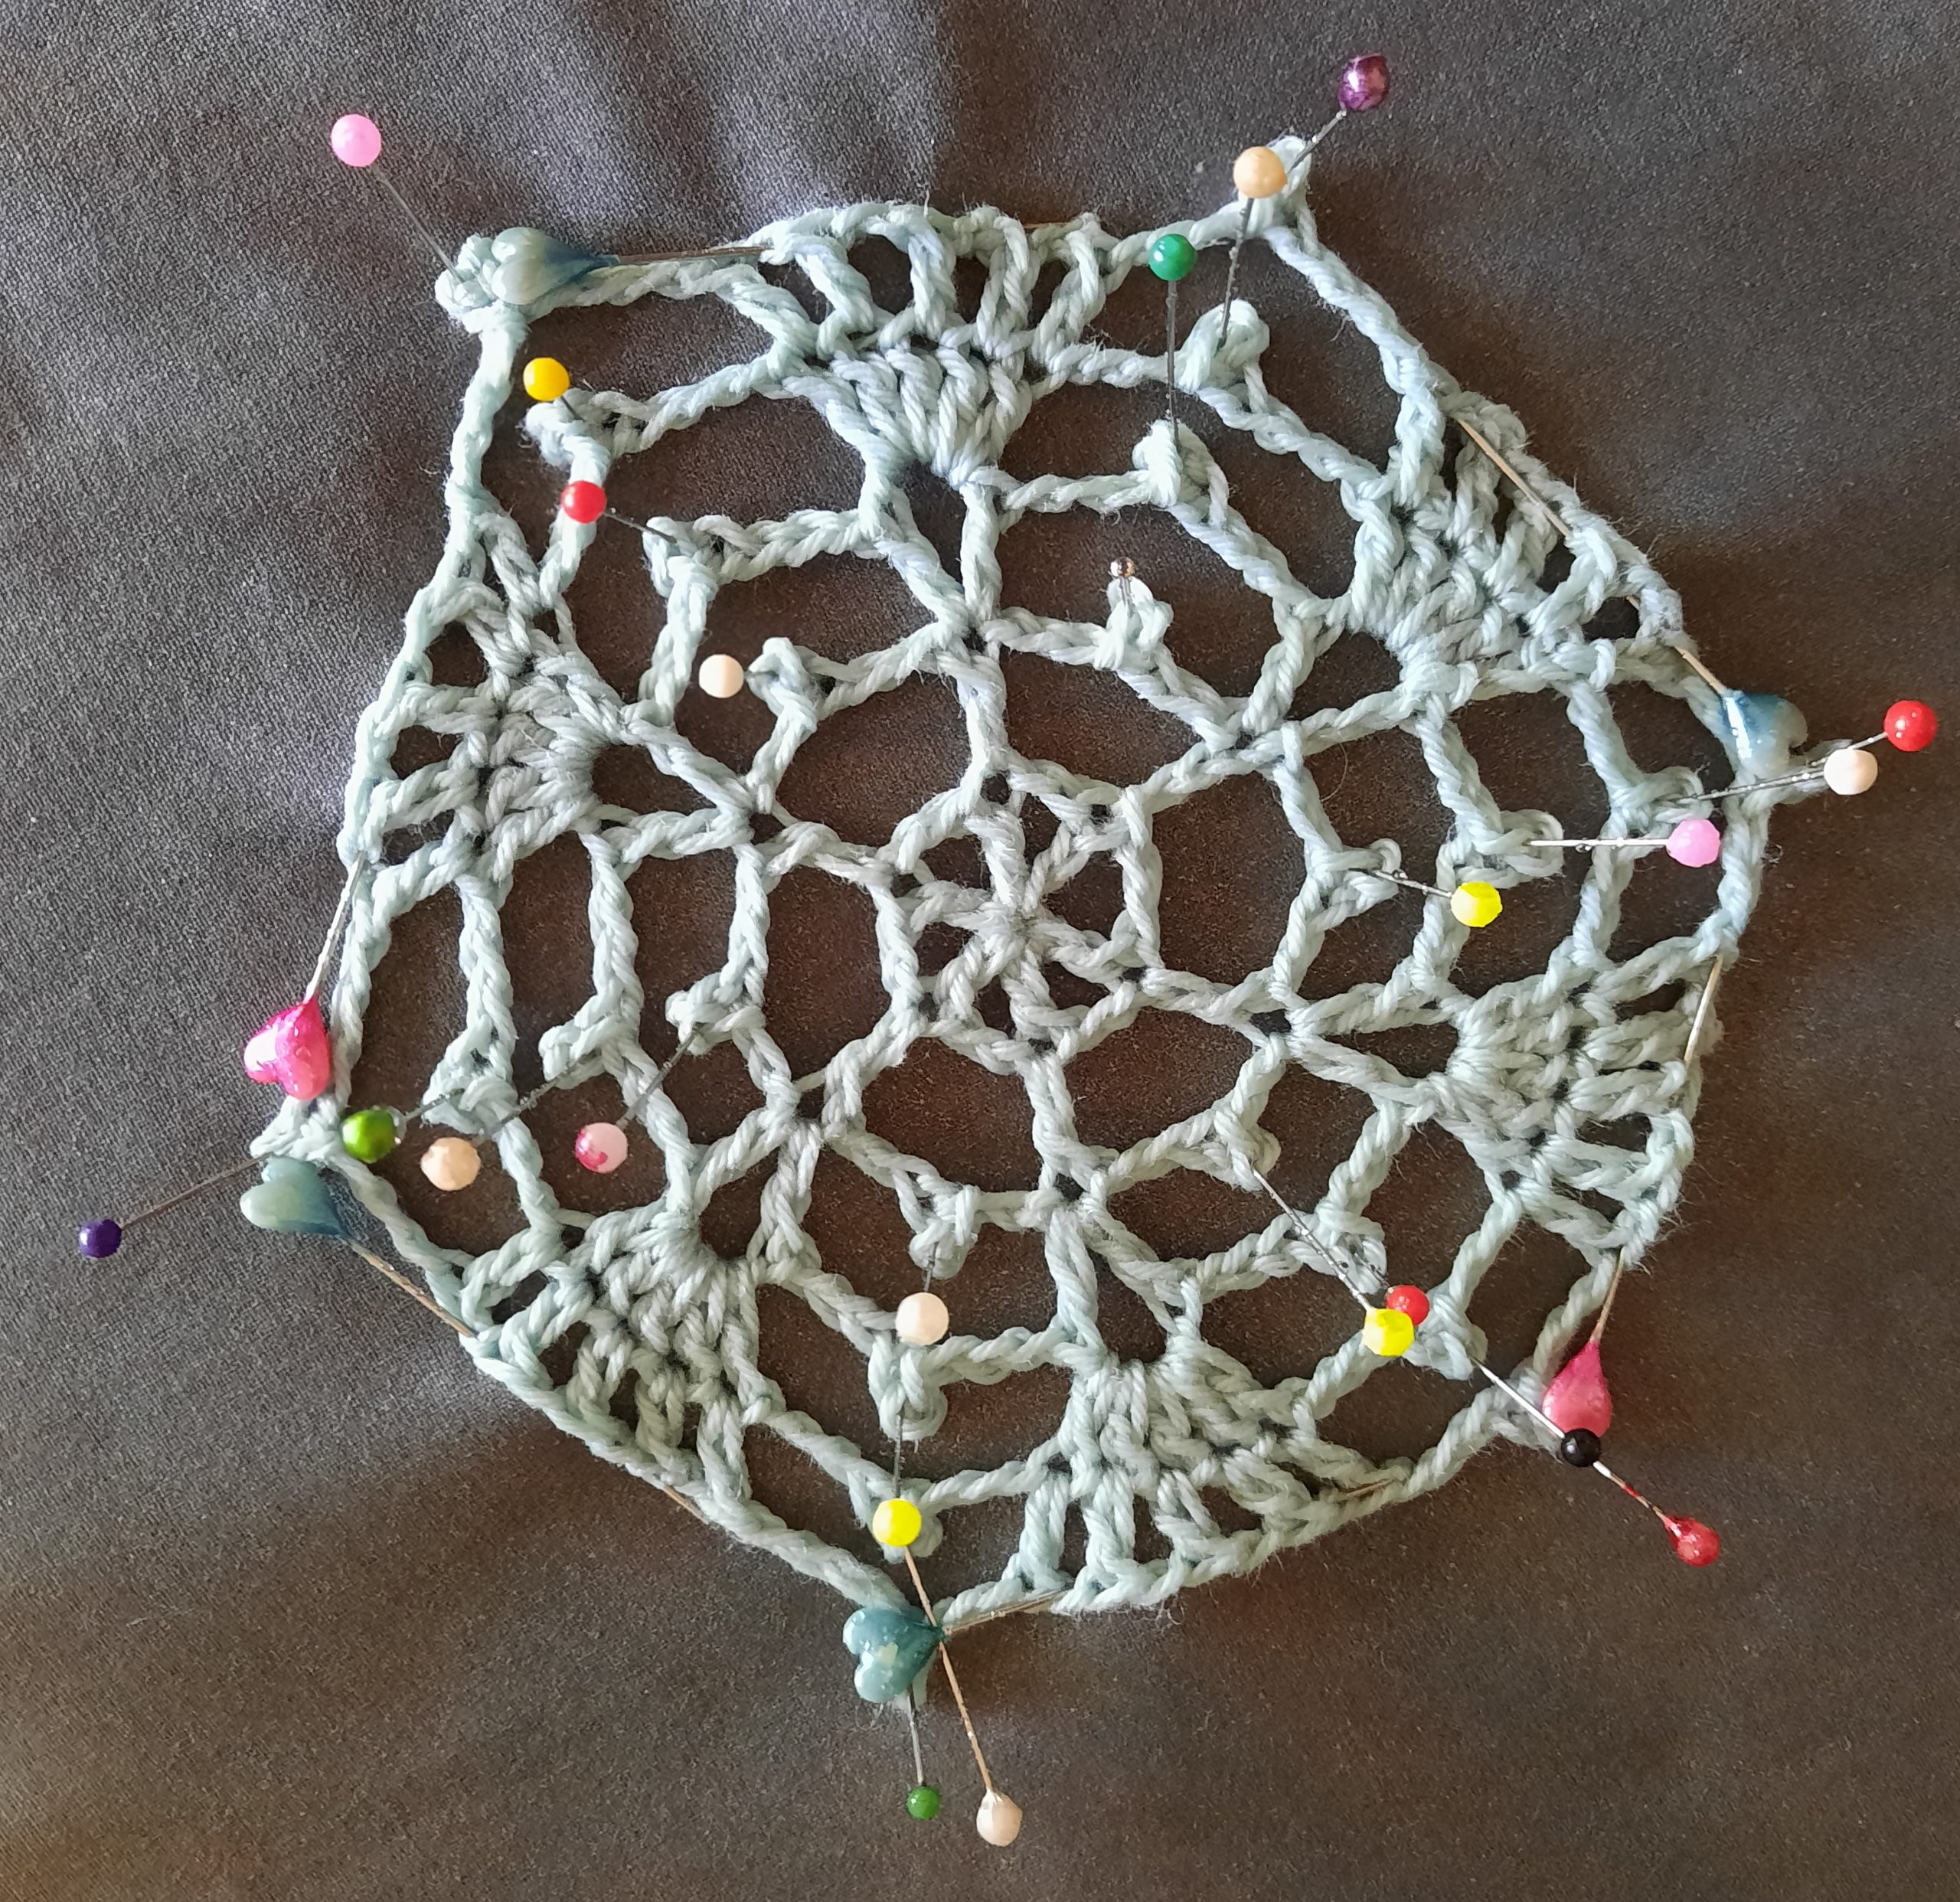
To steam block, place the pieces on your prepared surface (or a blocking board), then stretch and mold the pieces into the same or desired size and shape shown on the schematic and pin. Use an Iron on the lowest setting that will still produce steam, or a handheld steamer. Once you have a good steam going, hold the iron or steamer close to the fabric, then work in a circular motion over the entire piece until every inch is evenly dampened. DO NOT touch the iron to the fabric! If you find that you must lightly press the piece, cover it with a colorfast towel or a pressing cloth or handkerchief to protect the fabric from the hot metal plate. Then leave to dry. Drying after steaming takes a lot less time than wet blocking, but you still must allow the pieces to dry thoroughly before unpinning.
When pinning out your work, particularly lace, you are likely to need many pins in order to pull each row into its correct position in order to show off the pattern.
One of the problems with steam blocking is that it has to be done bit by bit, area by area, whereas wet or damp blocking allows you to work on the entire project at the same time. The steam method is great for touching up trims and removing the “fold line” from previously blocked garments. Drying after steaming also takes a lot less time than wet blocking.
Taking that extra time to block your item when it is finished or during the assembly process can really make your finished project pop and is well worth the effort. Approach the process with care and following the guide above to make your projects look the best they can.