June 1, 2026
Granny squares are a classic crochet pattern that have been around for many years, and we are now seeing many modern stitches incorporated into the squares. And while written instructions remain the same, there are some new ways to approach different steps involved in making granny squares and motifs of any shape to help improve the overall appearance of your motifs. I’ll outline below a few that I have come across that you may want to try.
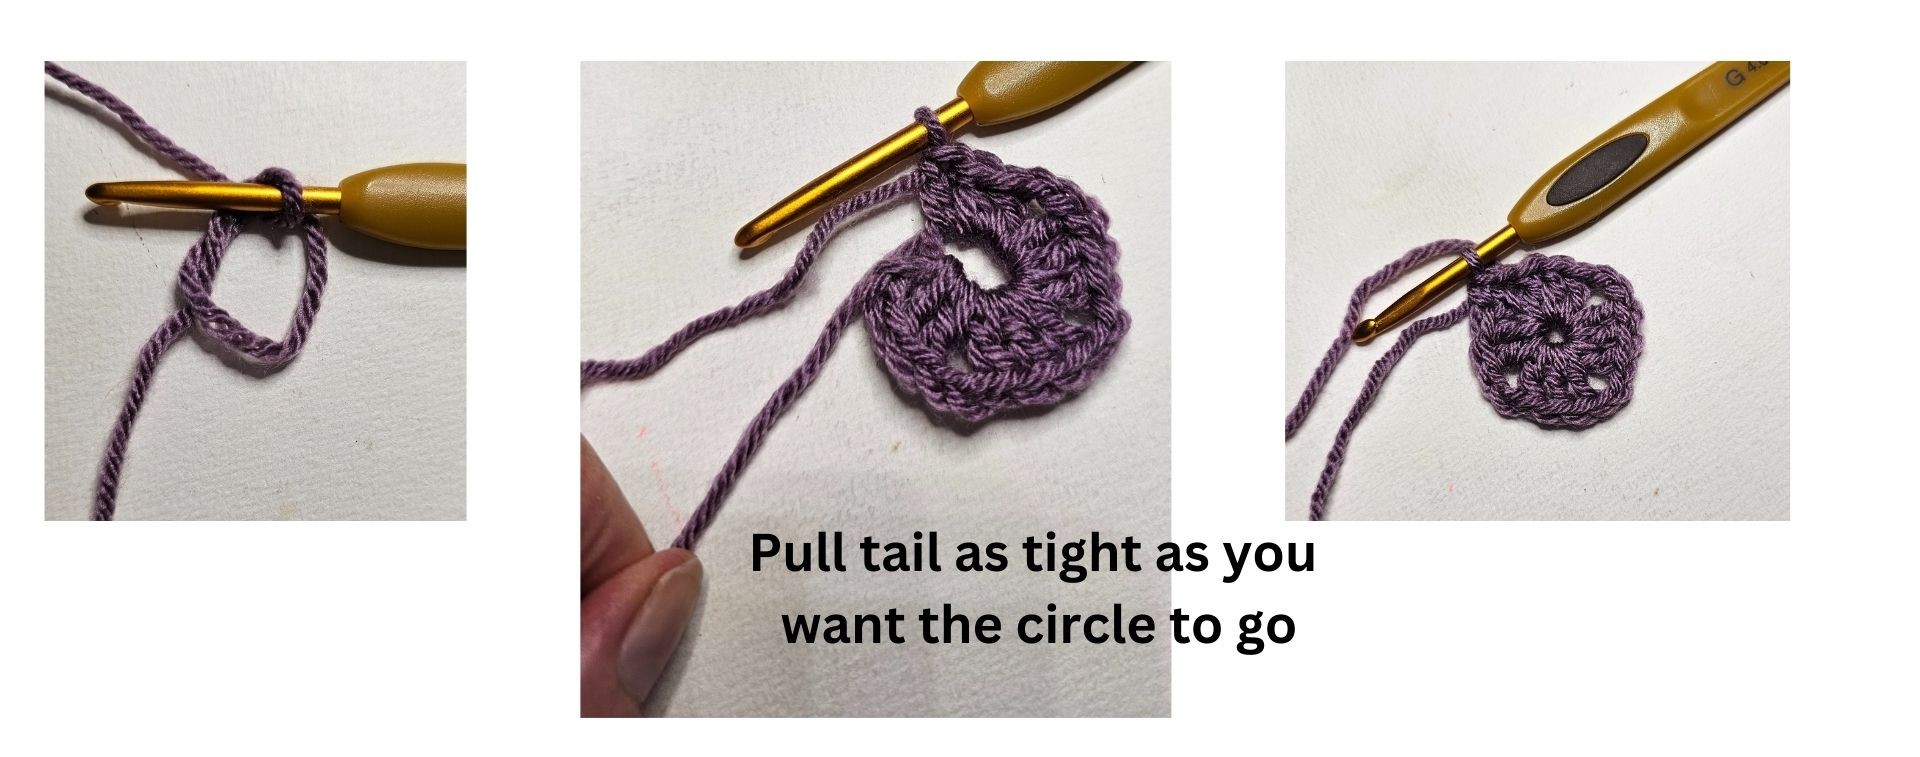
The centre ring – traditionally the centre ring was formed by making a number of chain and slip stitching to the first chain to create your ring. Many patterns are still written this way today, and this is still a legitimate way of beginning your motif. However other techniques to help get tighter or neater centres are as follows:
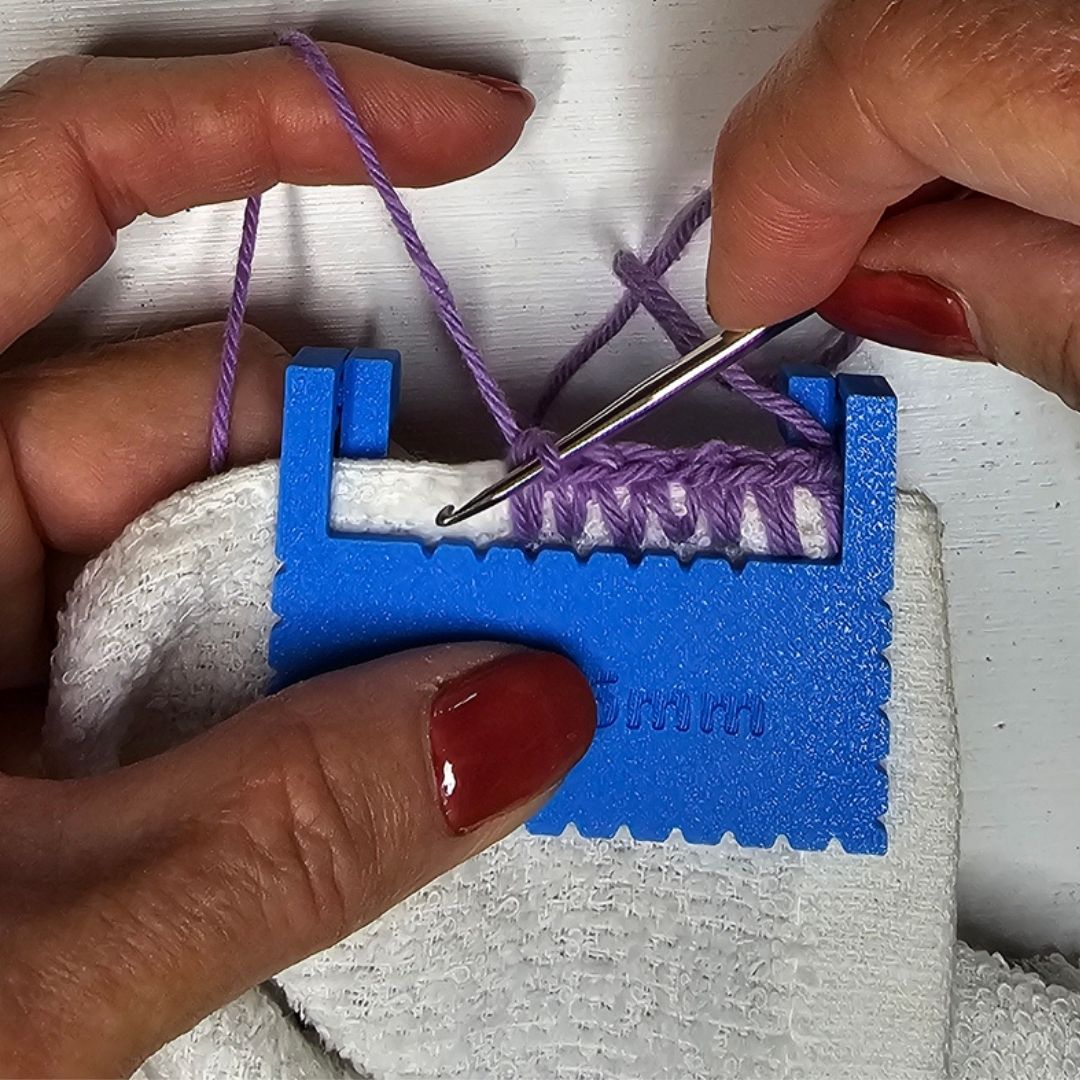
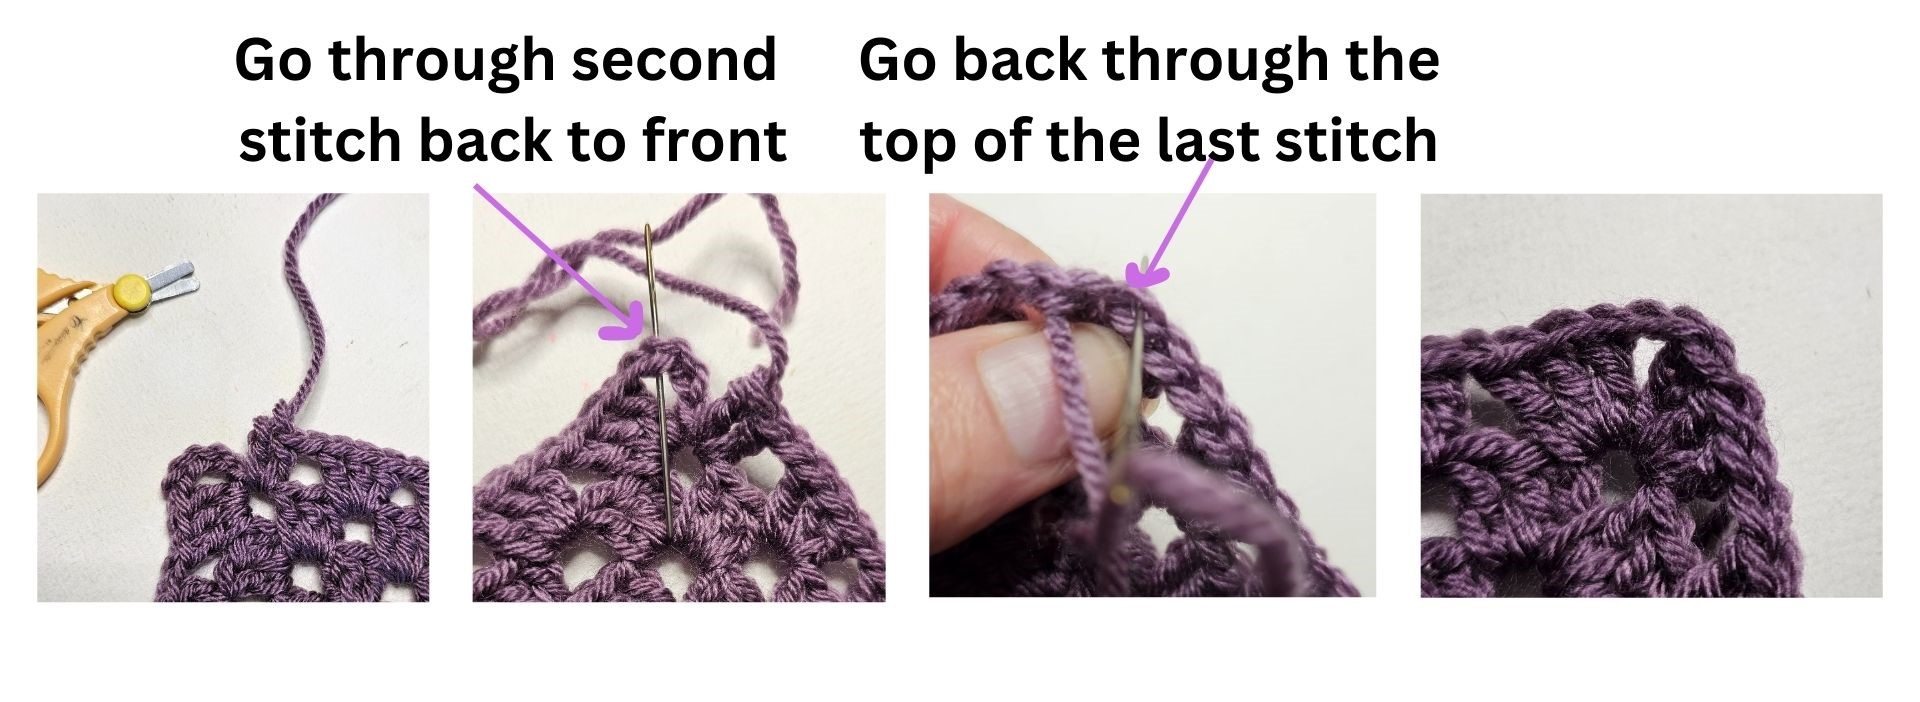
Invisible Joins – if you are changing colours, you need to fasten off the colour you are finishing. Rather than the traditional ‘fastening off’ which can leave a ‘knob’ replace this with the invisible join, which will result in a flat finish. As you finish the last stitch, before joining with a slip stitch, cut your yarn and pull it through the top of the last stitch, then thread the yarn tail onto a needle. Then join the end of the row by inserting your needle (back to front) into the top of the second stitch of the round, then back through the top of the last stitch you finished – this creates a ‘chain’ on top of the first stitch for the round. If you are ending with a chain, don’t make the last chain, but instead do the invisible join into the first stitch to create a stitch.
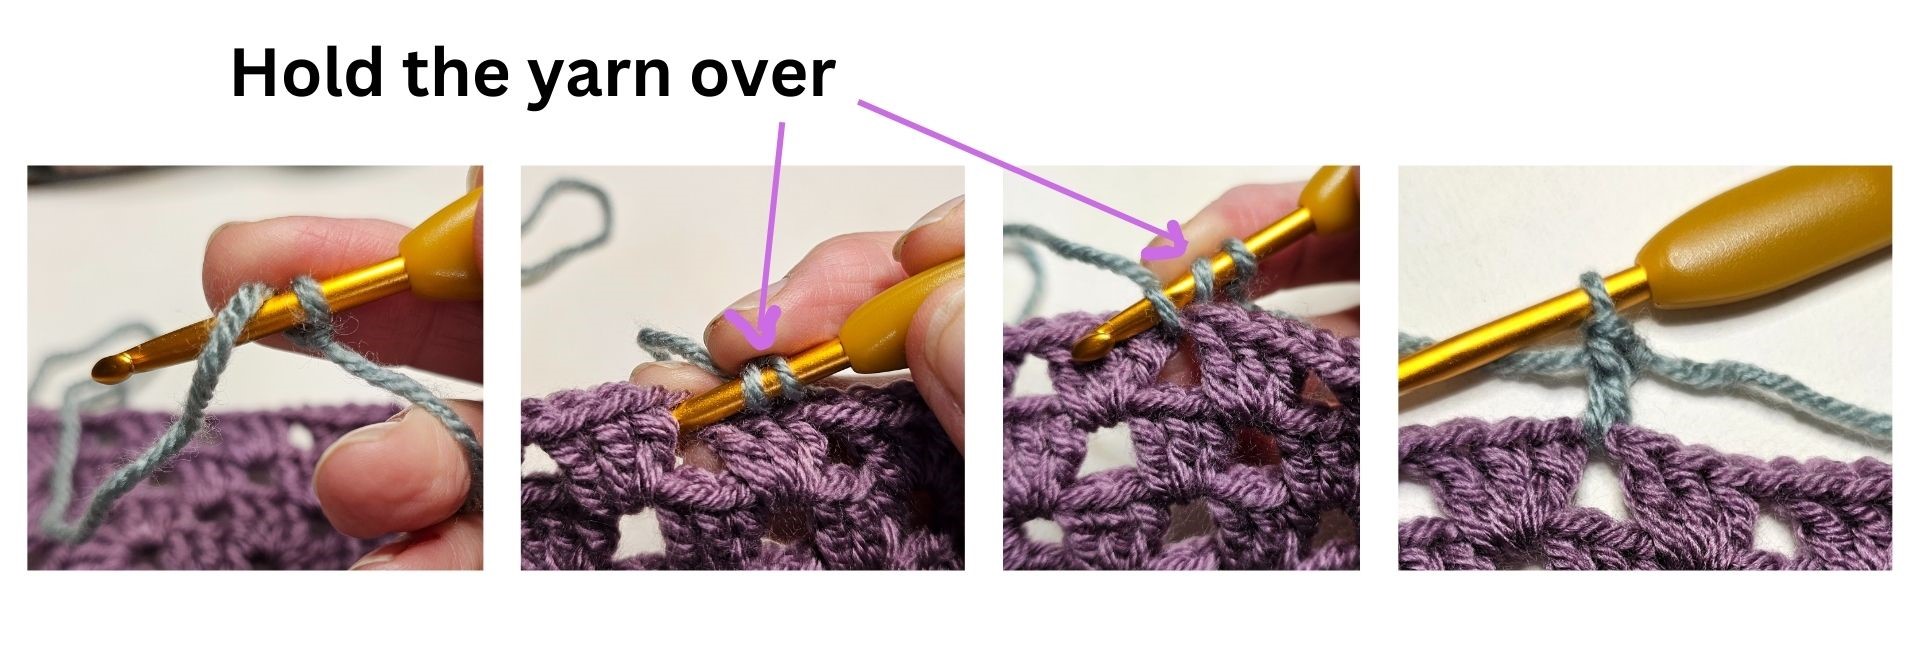
Beginning new rounds with a different colour – when you begin a new colour, instead of joining the yarn with a slip stitch and making your chains, use a standing stitch – which is essentially creating your first stitch from ‘midair’. Begin with a slip knot on your hook and begin your stitch. For example, if you are making a treble stitch, wrap the yarn around the hook and insert your hook into the designated stitch. You may need to use your finger to hold the slip knot and yarn over in place as you insert your hook into the designated stitch.
I also recommend beginning your new rounds in different places so that all your ends are not sewn into the same area. However this will be dependent on the pattern you are using.
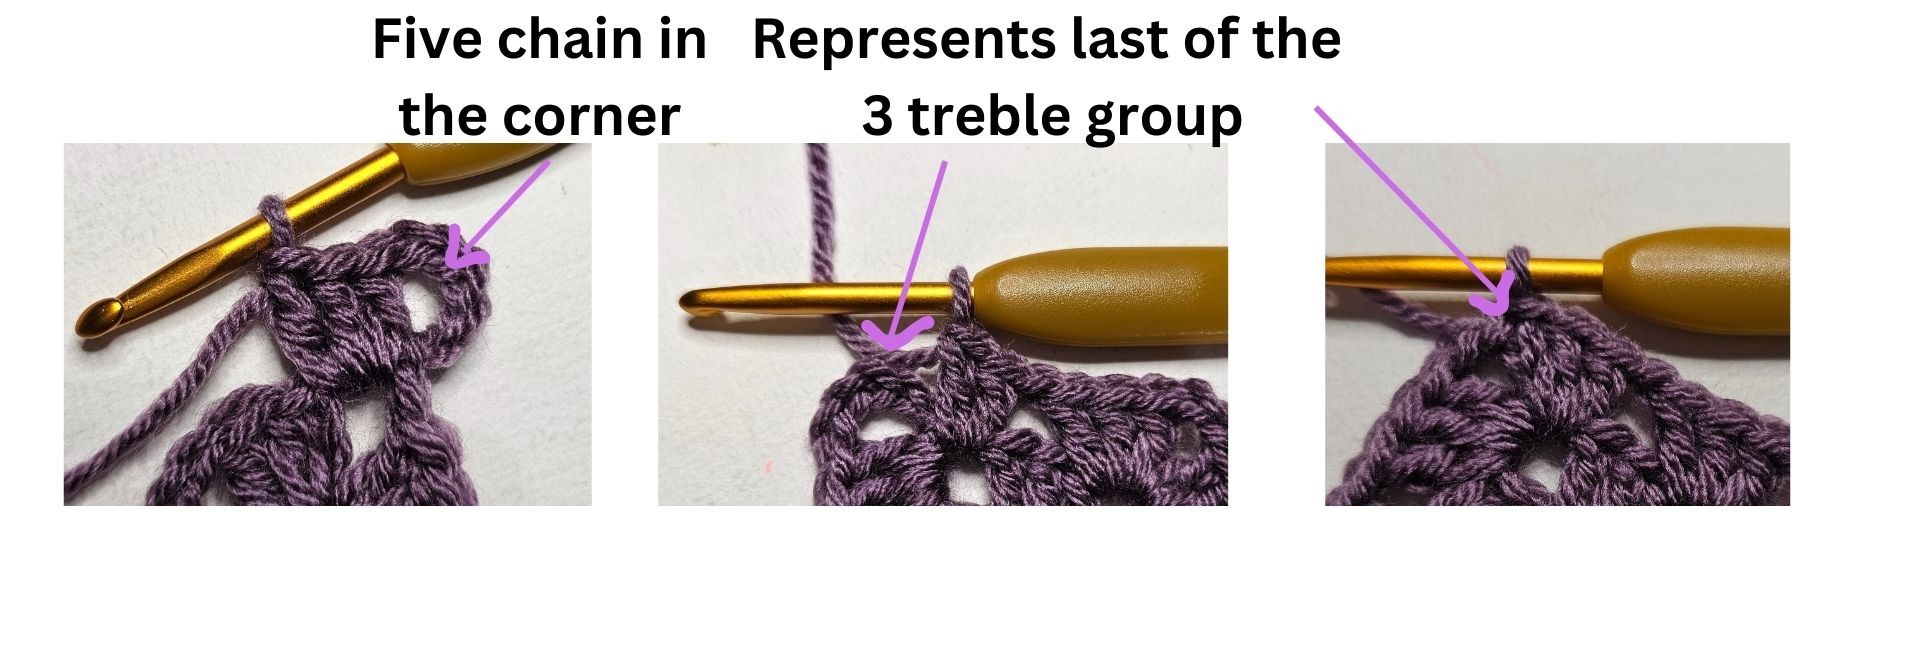
Squares made in one colour – When you are not changing colour, the general approach is to end the round by the specified number of chain (2 or 3 if in the corner or 1 if in the side) then a slip stitch to the first stitch of the round. This leaves your hook above that first stitch. However with traditional granny squares the stitches are being made in the chain space only. There are several different ways you can go here:

Square squares? – I often hear the comment that in order to get granny squares that are really square, you need to turn at the end of each round, like you do when working in rows – this is because if you keep going the one way your stitches can get a slant resulting in your square being slightly bent out of shape. I find this is a matter of personal preference and varies depending on your crochet style. I myself do not do this to end up with square squares, yet I have seen others who do need to do this.
Before joining your squares, don’t forget to block them! Doing this before joining will ensure they are all the same size and even and helps to see the stitches for the joining process. Once they are joined it is more difficult to block your final projecdt.
Most patterns will not refer to any of these techniques. I recommend experimenting to find the one that works for you – so you too have granny square (motif) success.