$0.00
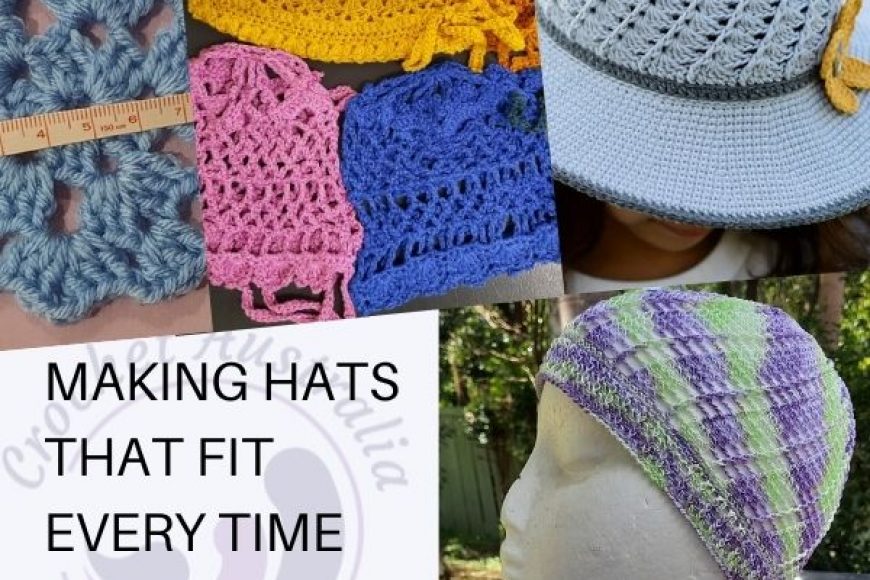
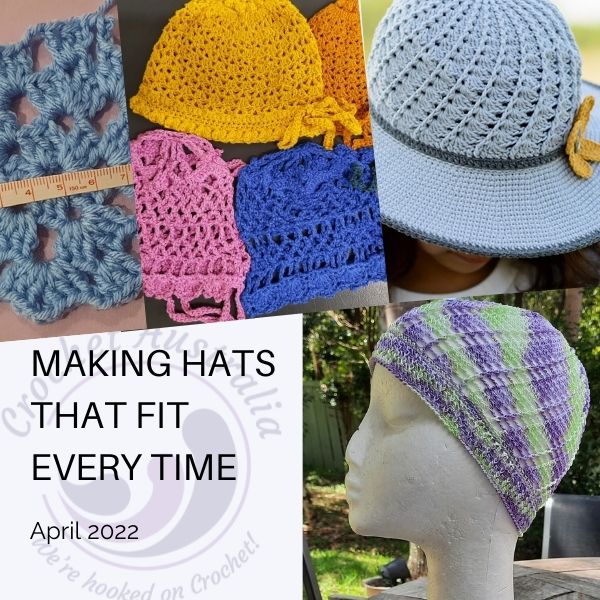
Make Hats that fit Everytime
Beanies make great easy gifts, and with winter just around the corner, now is the time to make them. But getting a crochet hat to fit perfectly can be tough because all heads are not the same. Similarly not all patterns cater for all sizes. I thought I’d share some guiding principles that I discovered for making beanies and hats to ensure they will fit every time.
 Step 1. Measure the head circumference. To ensure the proper fit of the hat we begin with the circumference of the head. This is the measurement of a childs’ or adults’ head around the largest area — Starting at the centre of the front hairline, place the tape flat against your head, going just above the ear towards the back of the head, keeping the tape at the nape of your neck and go around to the opposite side of your head, just above the opposite ear and returning to the center of the front hairline. If you can’t obtain the exact measurement, see the table below for the approximate measurements (head circumferences) for the ages.
Step 2. Determine the stretch desired. Generally hats are worked approx 5cm smaller than the actual head circumstance to get a firm fit. However how much stretch you need to give will be dependent on the pattern and the yarn you are using. For example acrylic has far more stretch than cotton does, therefore if you plan to use cotton, you may allow no stretch. Deduct the stretch required from the actual circumference determined in step 1 above to get your hat circumference.
 Step 3. Crochet a Flat Circle To the calculated size. Most crochet hat patterns start from the top of the hat. The top of the hat is a flat round circle. The diameter of this flat round circle is your hat circumference determined in step 2, divided by 3.14. The diameter is a measurement of a circle at its thickest part (through the centre). For example, if you are making a hat for a baby and the head circumference is 32 cm and you’ve allowed for 2cm stretch, the diameter of the flat circle top of the hat for this baby should be: (32cm – 2cm) / 3.14 = 9.6cm. If you are following a written pattern, repeat the increase rounds until you reach the desired size if the measurements are not big enough, or finish the increase rounds earlier if you need it smaller. After this continue without increasing.
Step 4. Calculate the height of the hat. Measure the height from the top of the head (crown) to the length the hat should be. This varies for each individual – some want this to be above the ear, while others want it to cover the ear. Continue working in the round without increasing until you have reached that desired length. If you want to add a brim, continue working in the round until you have the brim the length you desire.
The below table sets out the average circumference, diameter and head height for different age groups if you are unable to get actual measurements.
| Size | Approx Head Circumference |
Hat Crown Diameter (Hat Circumference/3.14 with no stretch) | Hat Height – crown to edge (no brim) |
| Premie | 12” (30.5cm) | 3.8” (9.7cm) | 5” (12.5cm) |
| Newborn | 13” (33cm) | 4.2” (10.5cm) | 6” (15cm) |
| 0 – 3 months | 14” (36cm) | 4.5” (11.5cm) | 6.5” (16.5cm) |
| 3 – 6 months | 15” (38cm) | 4.8” (12.1cm) | 7” (18cm) |
| 6 – 12 months | 17” (43cm) | 5.4” (13.7cm) | 8” (20.3cm) |
| 12 months – 3 years | 19” (48.2cm) | 6” (15.4cm) | 8.5” (21.5cm) |
| 3 years – 10 years | 20” (50.5cm) | 6.4” (16cm) | 9” (23cm) |
| Teen to Adult woman | 21”-22” (53.4cm – 56cm) | 6.7” – 7” (17cm – 17.8cm) | 9” (23cm) |
| Adult Man | 23” (58.54cm) | 7.3” (18.6cm) | 10” (25.5cm) |
