June 1, 2026
I’m sure you have all heard the term gauge swatch or tension swatch and read this in a pattern – but how many of you actually do it and use your gauge swatch to maximum benefit?
You may have noticed that when you crochet something, it often looks looser or tighter than somebody elses – meaning that what you make will either be bigger or smaller than somebody elses project or you may use more or less yarn. So when you are following somebody elses pattern, the gauge swatch will help you understand how you can get the same measurements as them by using the gauge swatch to adjust your hook size, yarn selection, the way you crochet or the size you follow in the pattern. This is particularly so when you are making garments, so you can ensure they fit, but it is equally important when making other items to ensure you have sufficient yarn.
A gauge swatch is also often called a tension swatch.
But I also find that a gauge swatch can be used in many other ways:
A gauge swatch is simply a small square made using the pattern/stitches used in the pattern. There are two elements to a gauge swatch – the stitch count and the row count. Most patterns will give you the gauge or tension swatch as a measure of the number of stitches per cm/inch, the number of rows per cm/inch, and in which pattern to measure this. Some patterns may ask you to do your gauge swatch in several stitches, particularly where there is ribbing involved. This can be done in one swatch.
 When making your swatch, always make the square larger than that required to be measured. This is because the ends can be distorted. Therefore if the pattern is asking for 20 stitches in your measurement, make the square at least 25 stitches wide. If you really want to check the drape of the yarn with the pattern, make it bigger – say 15cm. Then when it is time to measure it, measure the middle 20 stitches. Similarly if it asks for 15 rows, do 20 rows, and measure the middle 15 rows.
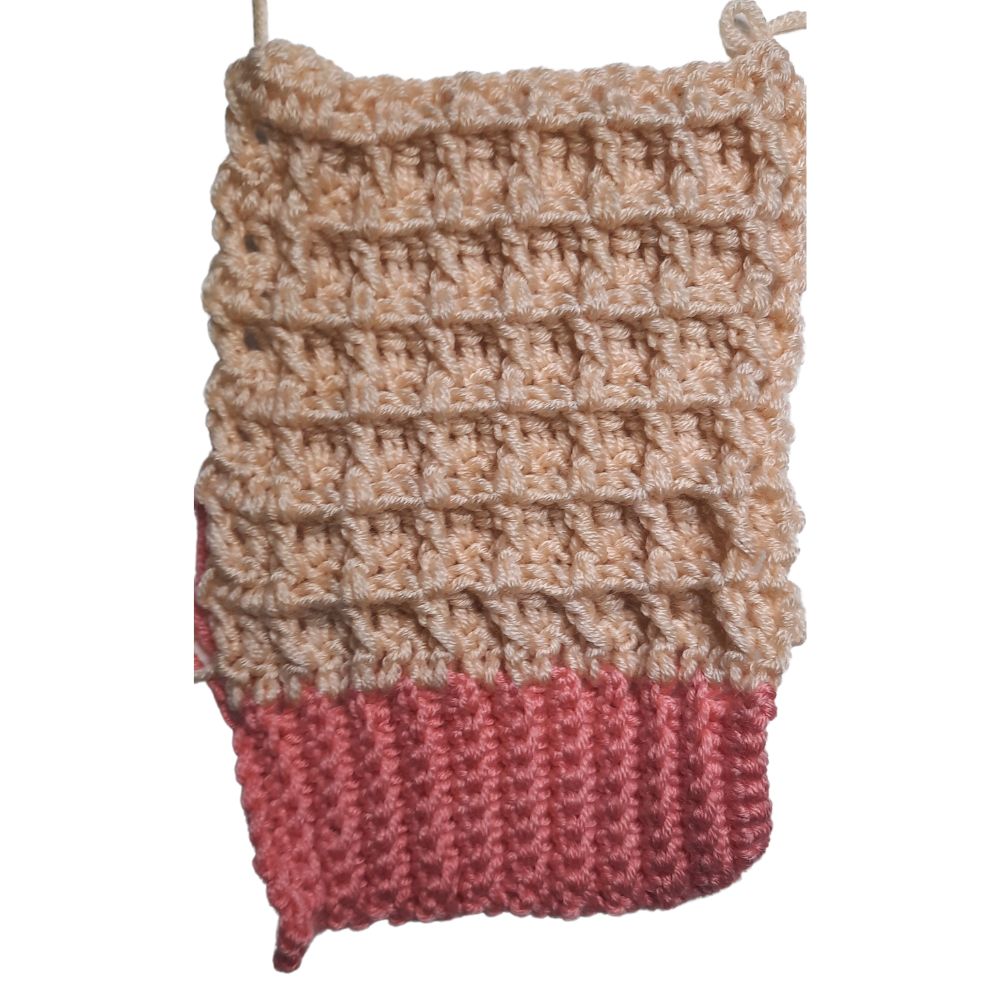
When taking the measurements it is important to lay your square flat and block it – particularly when using cotton or if your ends are curling, and you will be blocking the finished project. But don’t stretch it!
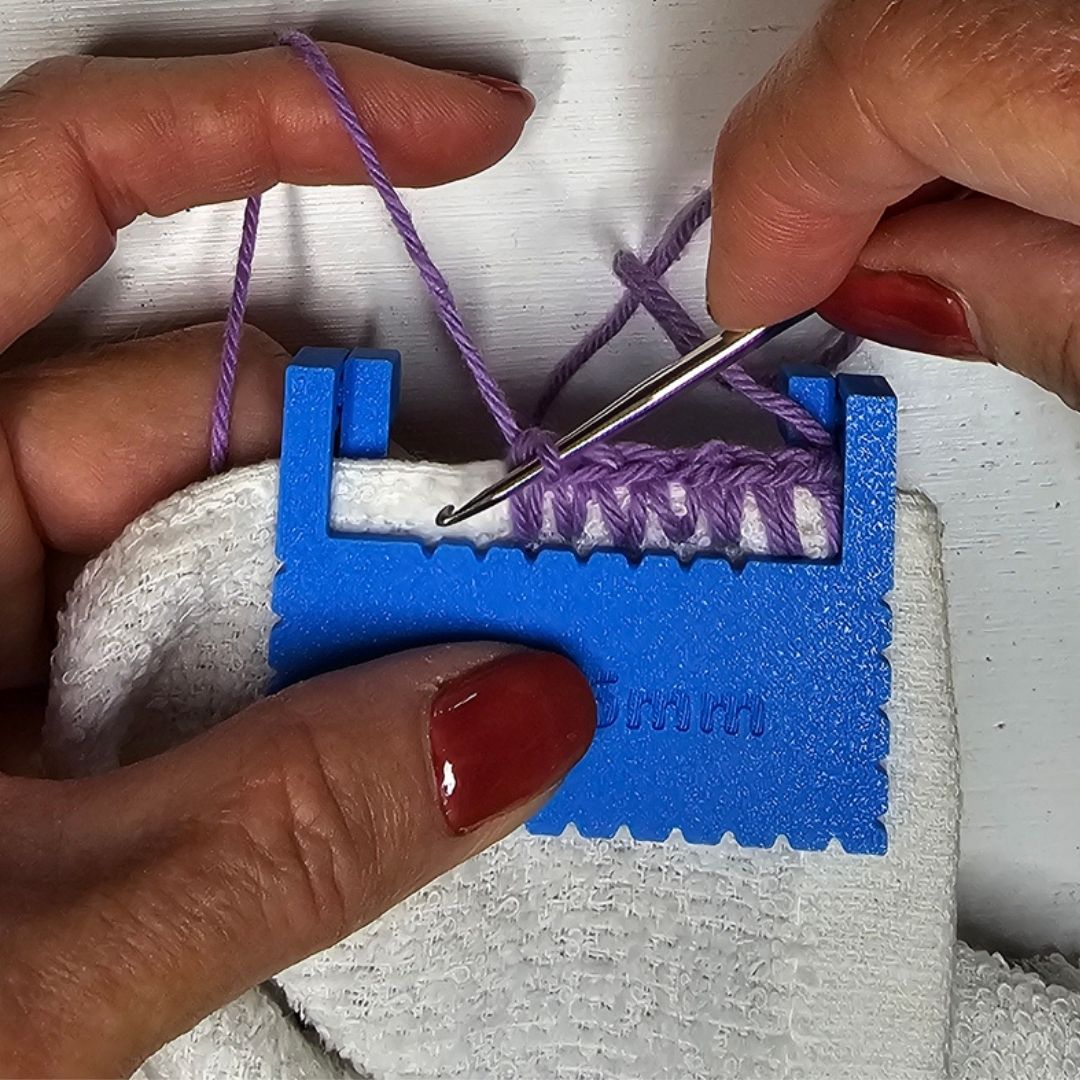
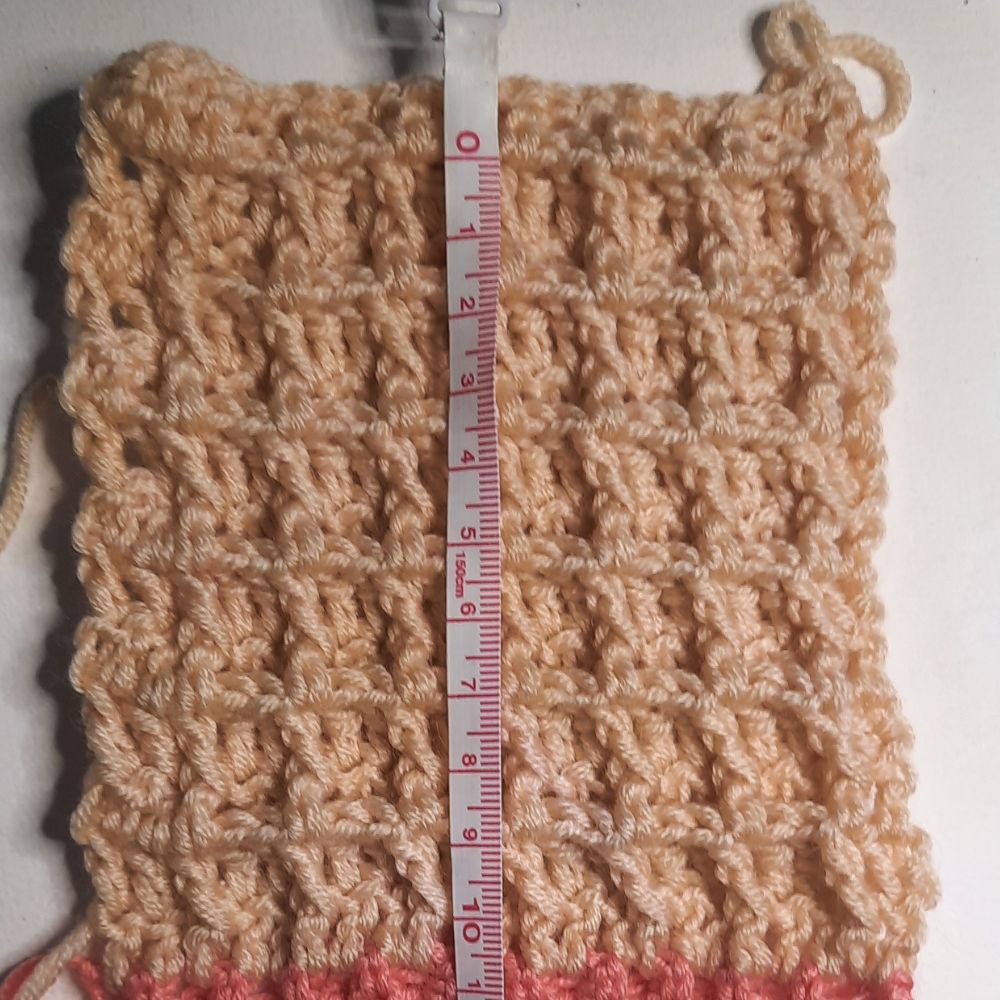
Then simply lay your tape measure across the stitches. Mark out the beginning and end of your measurements – I often use a pin to do this – and count the stitches or rows between the markers. There are also some gauge tools to help with this. In the image below there are 20 stitches between 0 and 10cm. Compare this to the required number of stitches per the pattern requirements.

What do I do if the Stitch Count is different?
Don’t panic and don’t unpull your swatch! Put a marker here then continue your swatch in a different hook based on the guidance below.
If you have more stitches in your swatch than the pattern calls for, this means you crochet tighter than the designer. You can increase the size of your hook to make your stitches bigger (looser) and/or you could use a thicker yarn.
If you have less stitches in your swatch than the pattern calls for, this means you crochet looser than the designer. You can decrease the size of your hook to make your stitches smaller (tighter) and/or you could use a thinner yarn.
What about the Row Count?
Measure the rows in the same manner as you did for the number of stitches. In the image below there are 12 rows between 0 and 10cm.
However, any differences here between your swatch and the what the pattern requires is generally not related to hook size, but more the way you crochet. So once you’ve got the stitch count sorted, then focus on the row count.
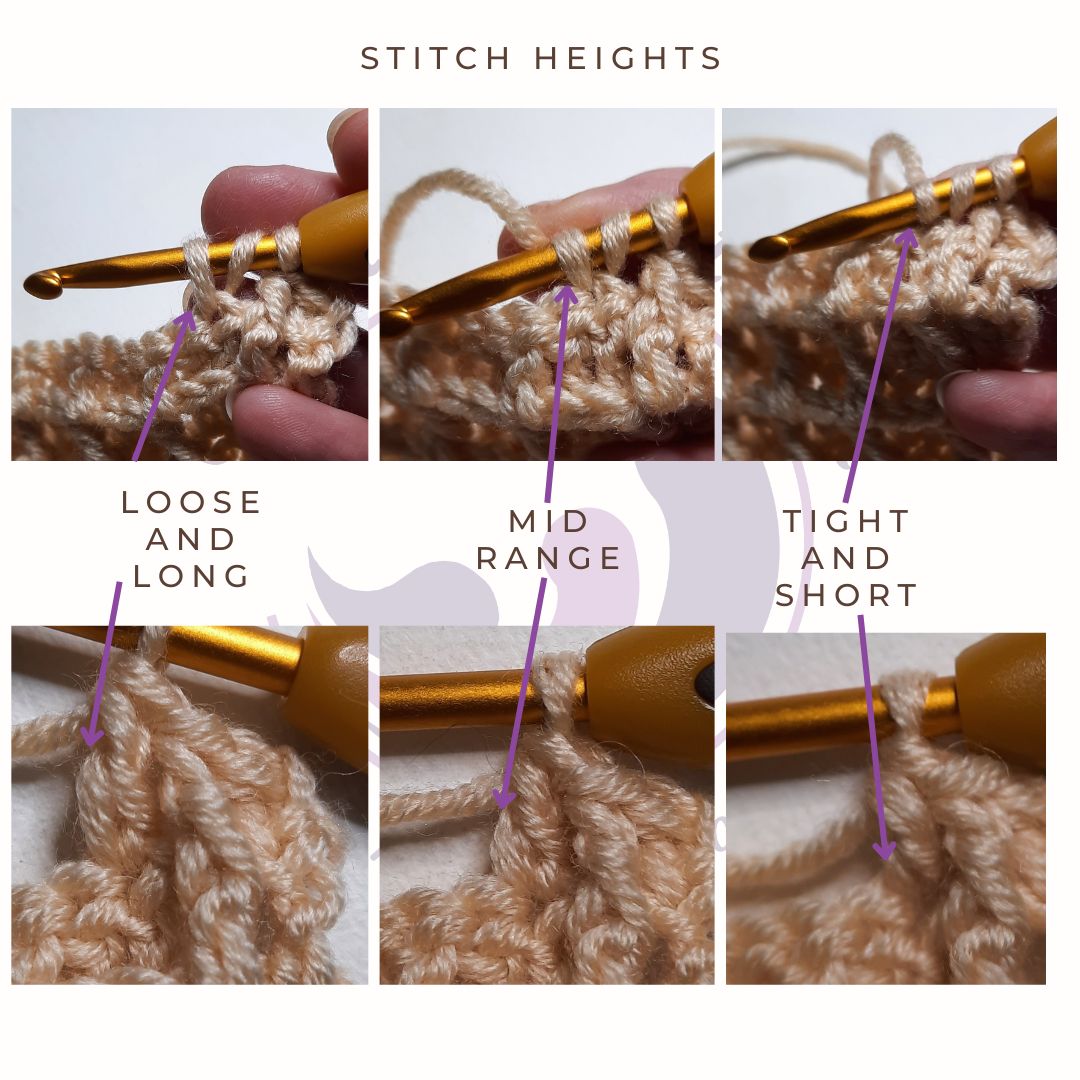
If you find you have less rows than the pattern calls for, you need to lengthen your stitch. This means that when you pull a loop through the top of the stitch, stretch this loop up before you proceed to finish the stitch.
If you find you have more rows than the pattern calls for, you need to shorten your stitch. This means that when you pull a loop through the top of the stitch, pull the yarn tighter on your hook before you proceed to finish the stitch.
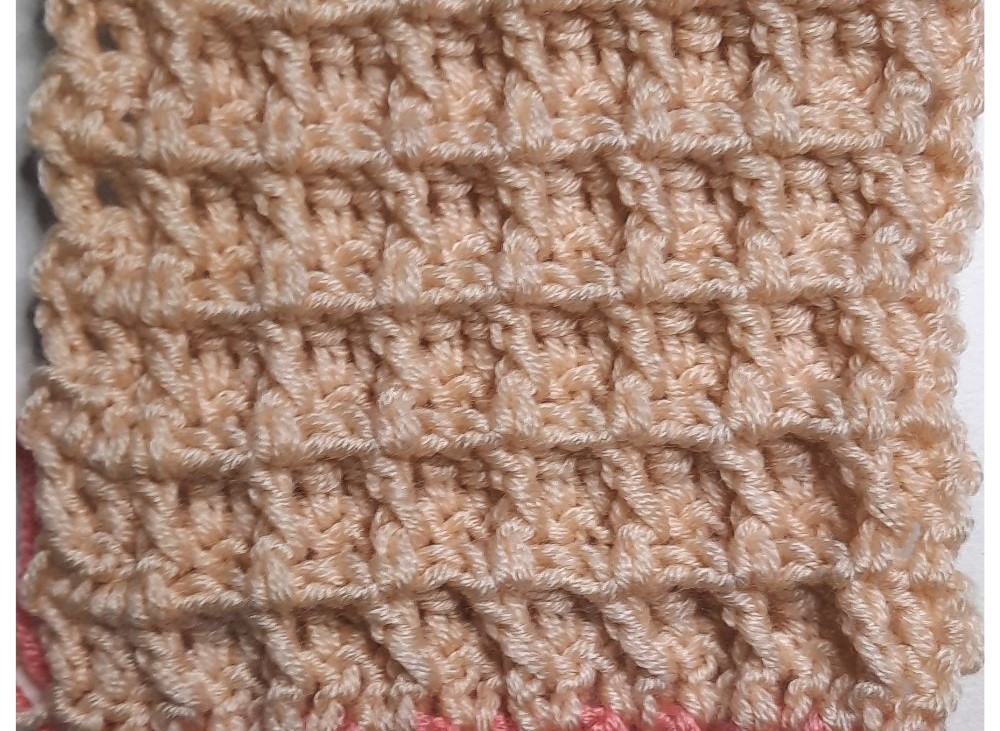
See the image below which illustrates the loop you are focusing on.