June 1, 2026
Let’s face it, whether you’re a crocheter or knitter, we all have to undo our work at some point – or ‘frog it’.
This may be because of an error found in a current project, or undoing an entire project to reuse the yarn for something else – this includes reusing yarn from items that are bought.
But did you know there are right and wrong ways to do it!
The right way will ensure you don’t ruin the yarn, so you can continue your project seamlessly, or effectively reuse the yarn in a new project.
The biggest tip – always approach the frogging process slow and gentle. Don’t rush it. This will help avoid knots.
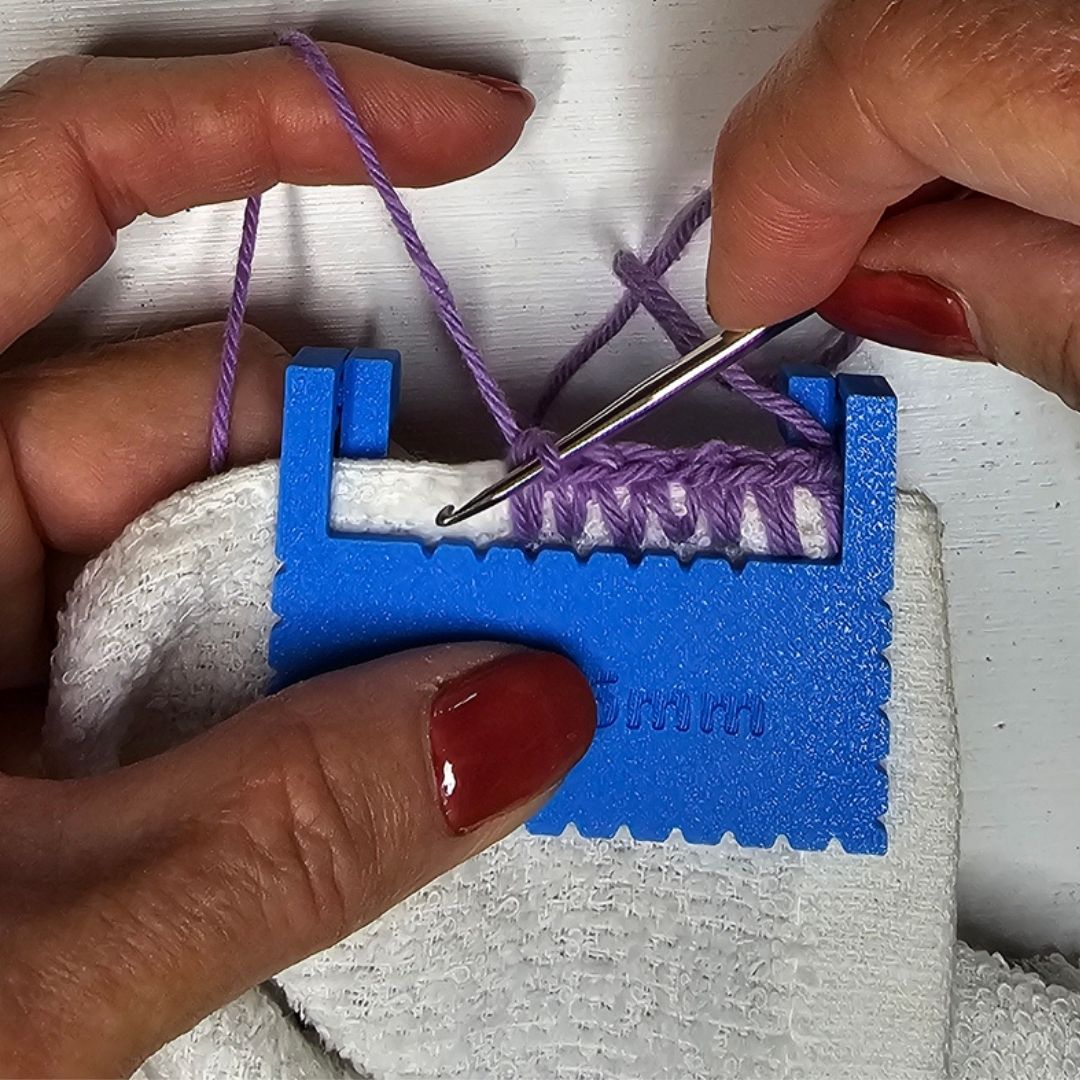
 When unravelling stitches, pull the yarn gently down towards the bottom of the stitch rather than from the top up towards you.
Pulling down will reduce the amount of friction placed on the yarn, making it a much smoother process and less chance of getting knots. This is especially true of hairy yarn.
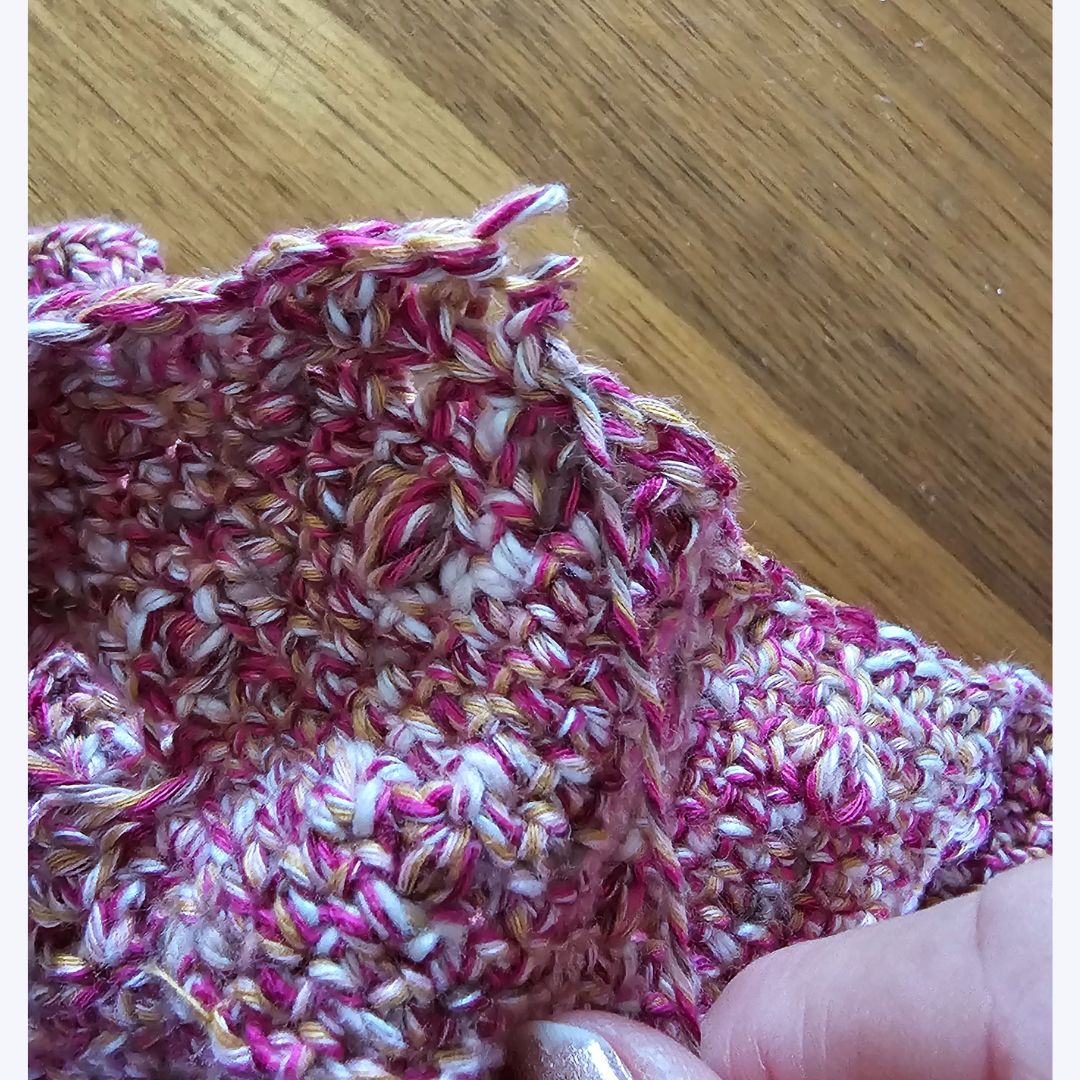
If the unravelling comes to a natural ‘stop’, don’t keep pulling. It is likely because the fibres have gotten tangled together. If you keep pulling in these situations the yarn can become broken or stretched and therefore weak and unusable. To avoid damaging the yarn, gently massage the spot where the tangle is to loosen the fibres then try again. If this doesn’t work, you may need to get a needle or small hook to unravel the fibres.
When knitting, the unravelling process to fix an error can be a bit daunting compared to crochet – when you have to pick up all of those stitches. You may want to ‘tink’ it instead – this is the process of ‘unkitting’ your work, one stitch at a time.
When you are unravelling a complete project or a large section of work, be sure to wind your yarn up as you go. Don’t leave it to drop into a big tangle on the floor as this will be sure to get into a large knot when you wish to reuse it.
When you are winding your yarn up, be sure to wrap it loosely. There are three ways you can approach this:
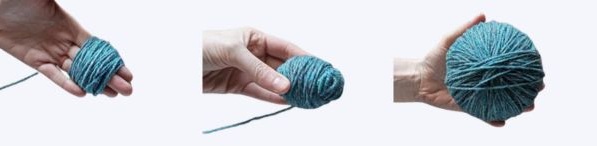
Wind by hand – begin by wrapping the end around 2 or 3 fingers. Don’t wrap it too tight. Once you have a few wraps take it off your fingers then wrap the opposite way around your beginning – again not too tight. Alternate the wrapping angles so that it begins to resemble a ball. If the yarn looks thinner on your ball than when slack, you are pulling too tight!
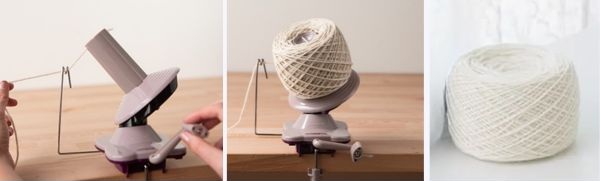
Use a wool winder – this is particularly useful for large sections that you wish to unravel, or completed projects that you are going to pull undone. The yarn threads through the yarn guide and onto the winder to give a consistent tension to the winding. When you remove the ball from the winder it will then have room to relax.
Wind into a ‘hank’ – this is particularly useful if you are reclaiming yarn from a completed item that may have been made up for a considerable period of time. In this case the yarn is likely to have lots of kinks which will need to be removed before reusing it. Before winding it into a ball, you will therefore need to wind it into a hank. To create a hank you can either use the back of a chair, a ‘yarn swift’ or a ‘niddy noddy’.
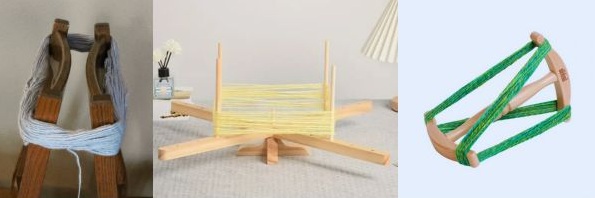
Once the yarn is wound up, use scrap yarn to secure it in 3 places – each end and in the middle. You can then remove the hank you’ve created from your tool.
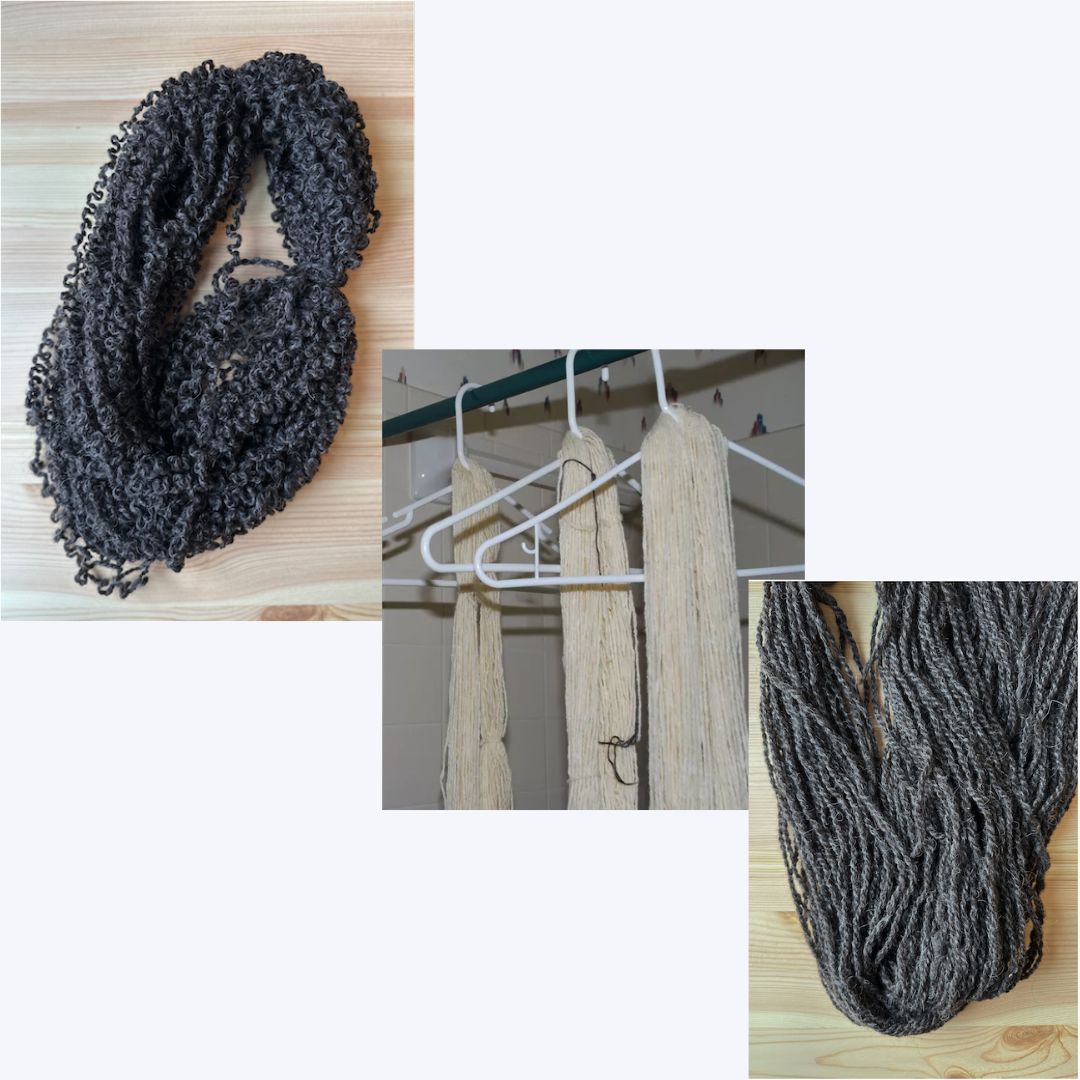
If you have reclaimed yarn from a project that has a lot of kinks you want to remove these otherwise your next use of the yarn will not look like you expect. To make your yarn straight and smooth submerge your hank into tepid water and leave it to absorb the water – you can use a little wool wash if you wish, but it is not necessary. DO NOT agitate it. Once you know it is wet through, remove it and gently squeeze the excess water out. Lay out your hank on a towel and press out as much moisture as possible and leave it to dry. Once it is dry, rewind it into a ball using method 1 or 2 above.